BLOG — LooksLikeFilm

10 Questions: Zalmy Berkowitz

Zalmy Berkowitz's artistic vision describes rhythm and movement amongst the chaos of life’s candid moments. His film work makes you fall in love with analog all over again.

10 Questions: Bob Sala

Meet Bob Sala. You might have come across his work - cinematic 60s-70s ambient stills that remind you of your mother’s childhood (or for some, your own). His (portrait) images go beyond making a fashion statement on a particular era; they tell a story of society and culture.

10 Questions: Vittore Buzzi

Milan based photojournalist Vittore Buzzi's photography is fuelled by the search to understand and accept reality - which translates into an exceptional eye for capturing moments and stories.


Print your favorites


ARTIST OF THE MONTH
Artist of the Month - Kate Whyte

VSCO

Before & After | Daniel Alonso

Need more to be thankful for this holiday season? Feast your eyes on our latest Before & After with Daniel Alonso.

It's a veritable cornucopia of visual deliciousness!

Tell us a little about yourself, Daniel.

I’m absolutely inspired by cinema. It was my visual school since I was a kid. I always try to imagine how my favorite cinema directors or cinematographers would shoot a wedding. That’s a huge freedom of possibilities. In this way, Terence Malick, M. Night Shyamalan, David Fincher, Emmanuel Lubezki, Steven Spielberg, Christopher Nolan… are references for me. 

Your influences. Who are they? 

And talking about wedding photographers: Fer Juaristi (my main reference), Jonas Peterson, Jeff Newsom, Sean Flanigan, Samm Blake, Roberto Ramos, Sara Byrne… And such much more. 

Do you have a vision before shooting a wedding? Tell us about your workflow - how your vision comes to life while shooting and in post.

I have some of my own rules when planning a shoot that makes it “my style”. Basically, my priority is emotion and good light. Finding these two things is my obsession and I try to make them come together in the same frame. But, I always try to be in an open-minded state and think like a cinema director, like I said before. 

This photo is and example of working outside of my own rules. 

My workflow is as follows:

1. I shoot almost 4000 photos per wedding. I select 800. I re-select 150-200 of this 800. I use Photomechanic for the selection. 

2. I edit that 150-200 with LR. Always with Portra 160++ as a base. 

3. I end the final look with ASE. I use Fuji Reala. 

4. I make a slideshow with these photos. 

5. I edit the rest of the 800 photos using the same post-process and catalog that as the first edition. 

This process takes me 2 to 3 days.

When posting the wedding, I try to tell the story even if I have to “lie” in the order of the images to make it more cinematic. 

I studied cinema scripting in college and it helps me to try to tell a story. 

Now, tell us all about how this magnificent image came to be.

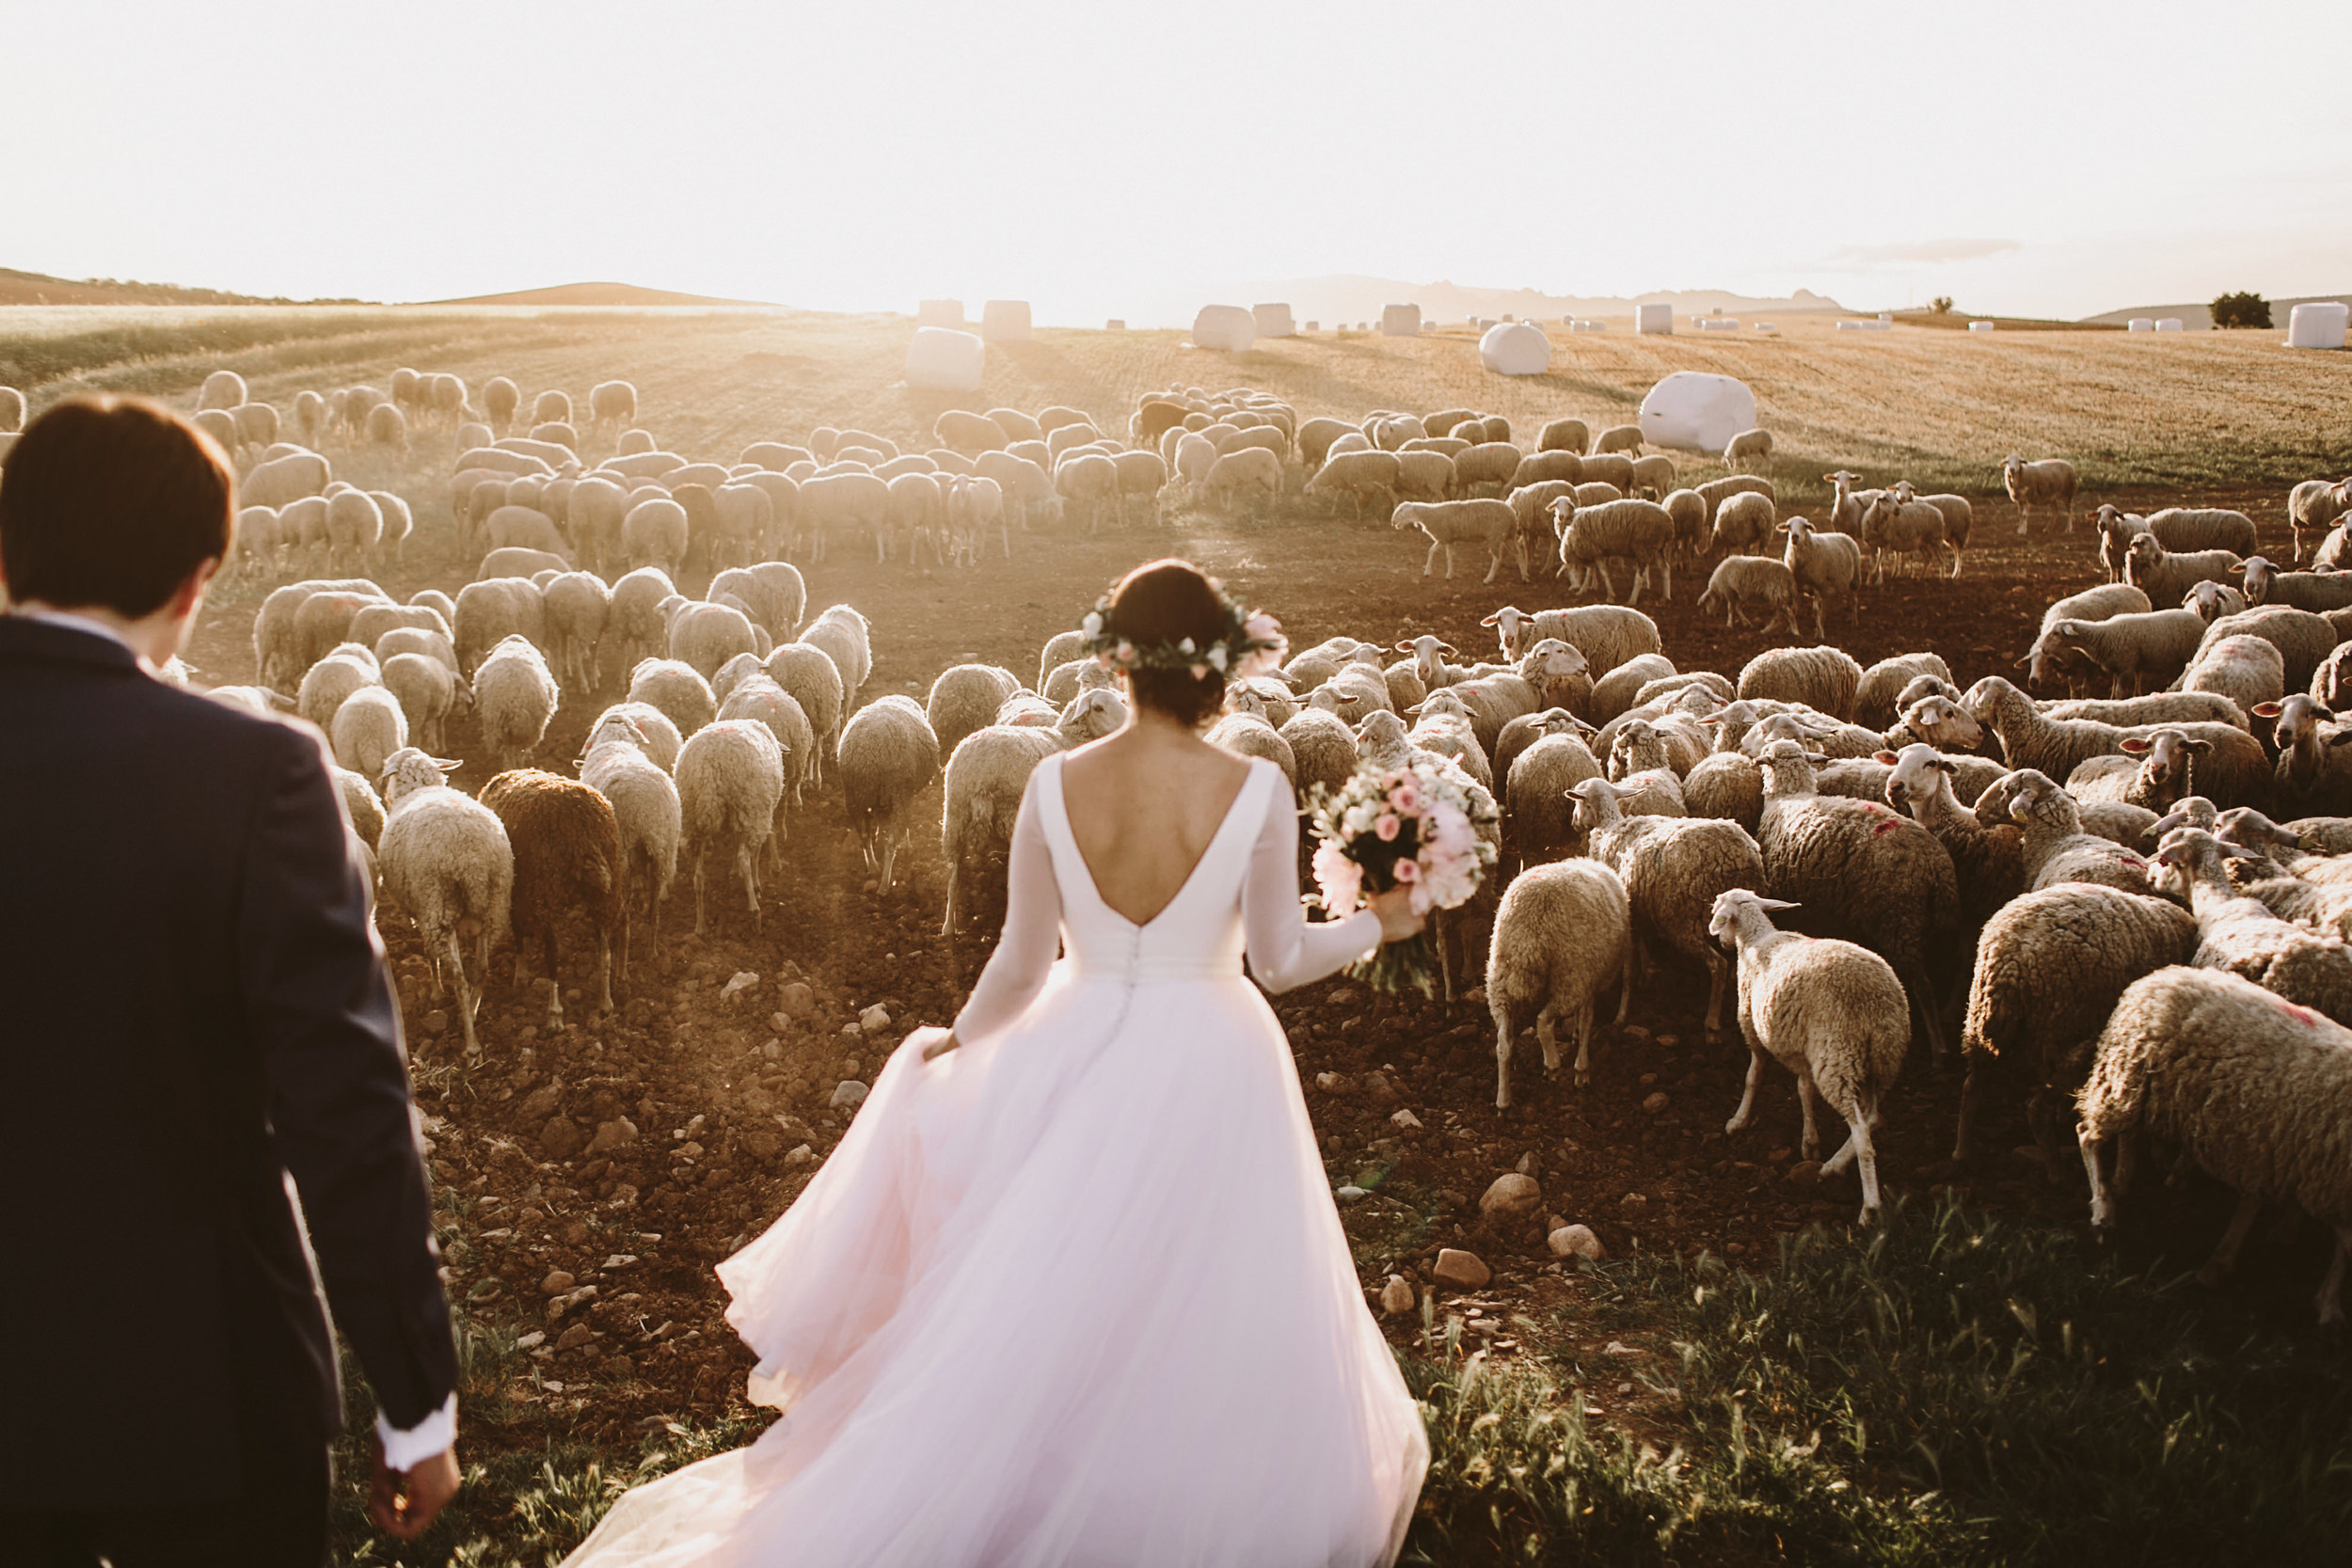
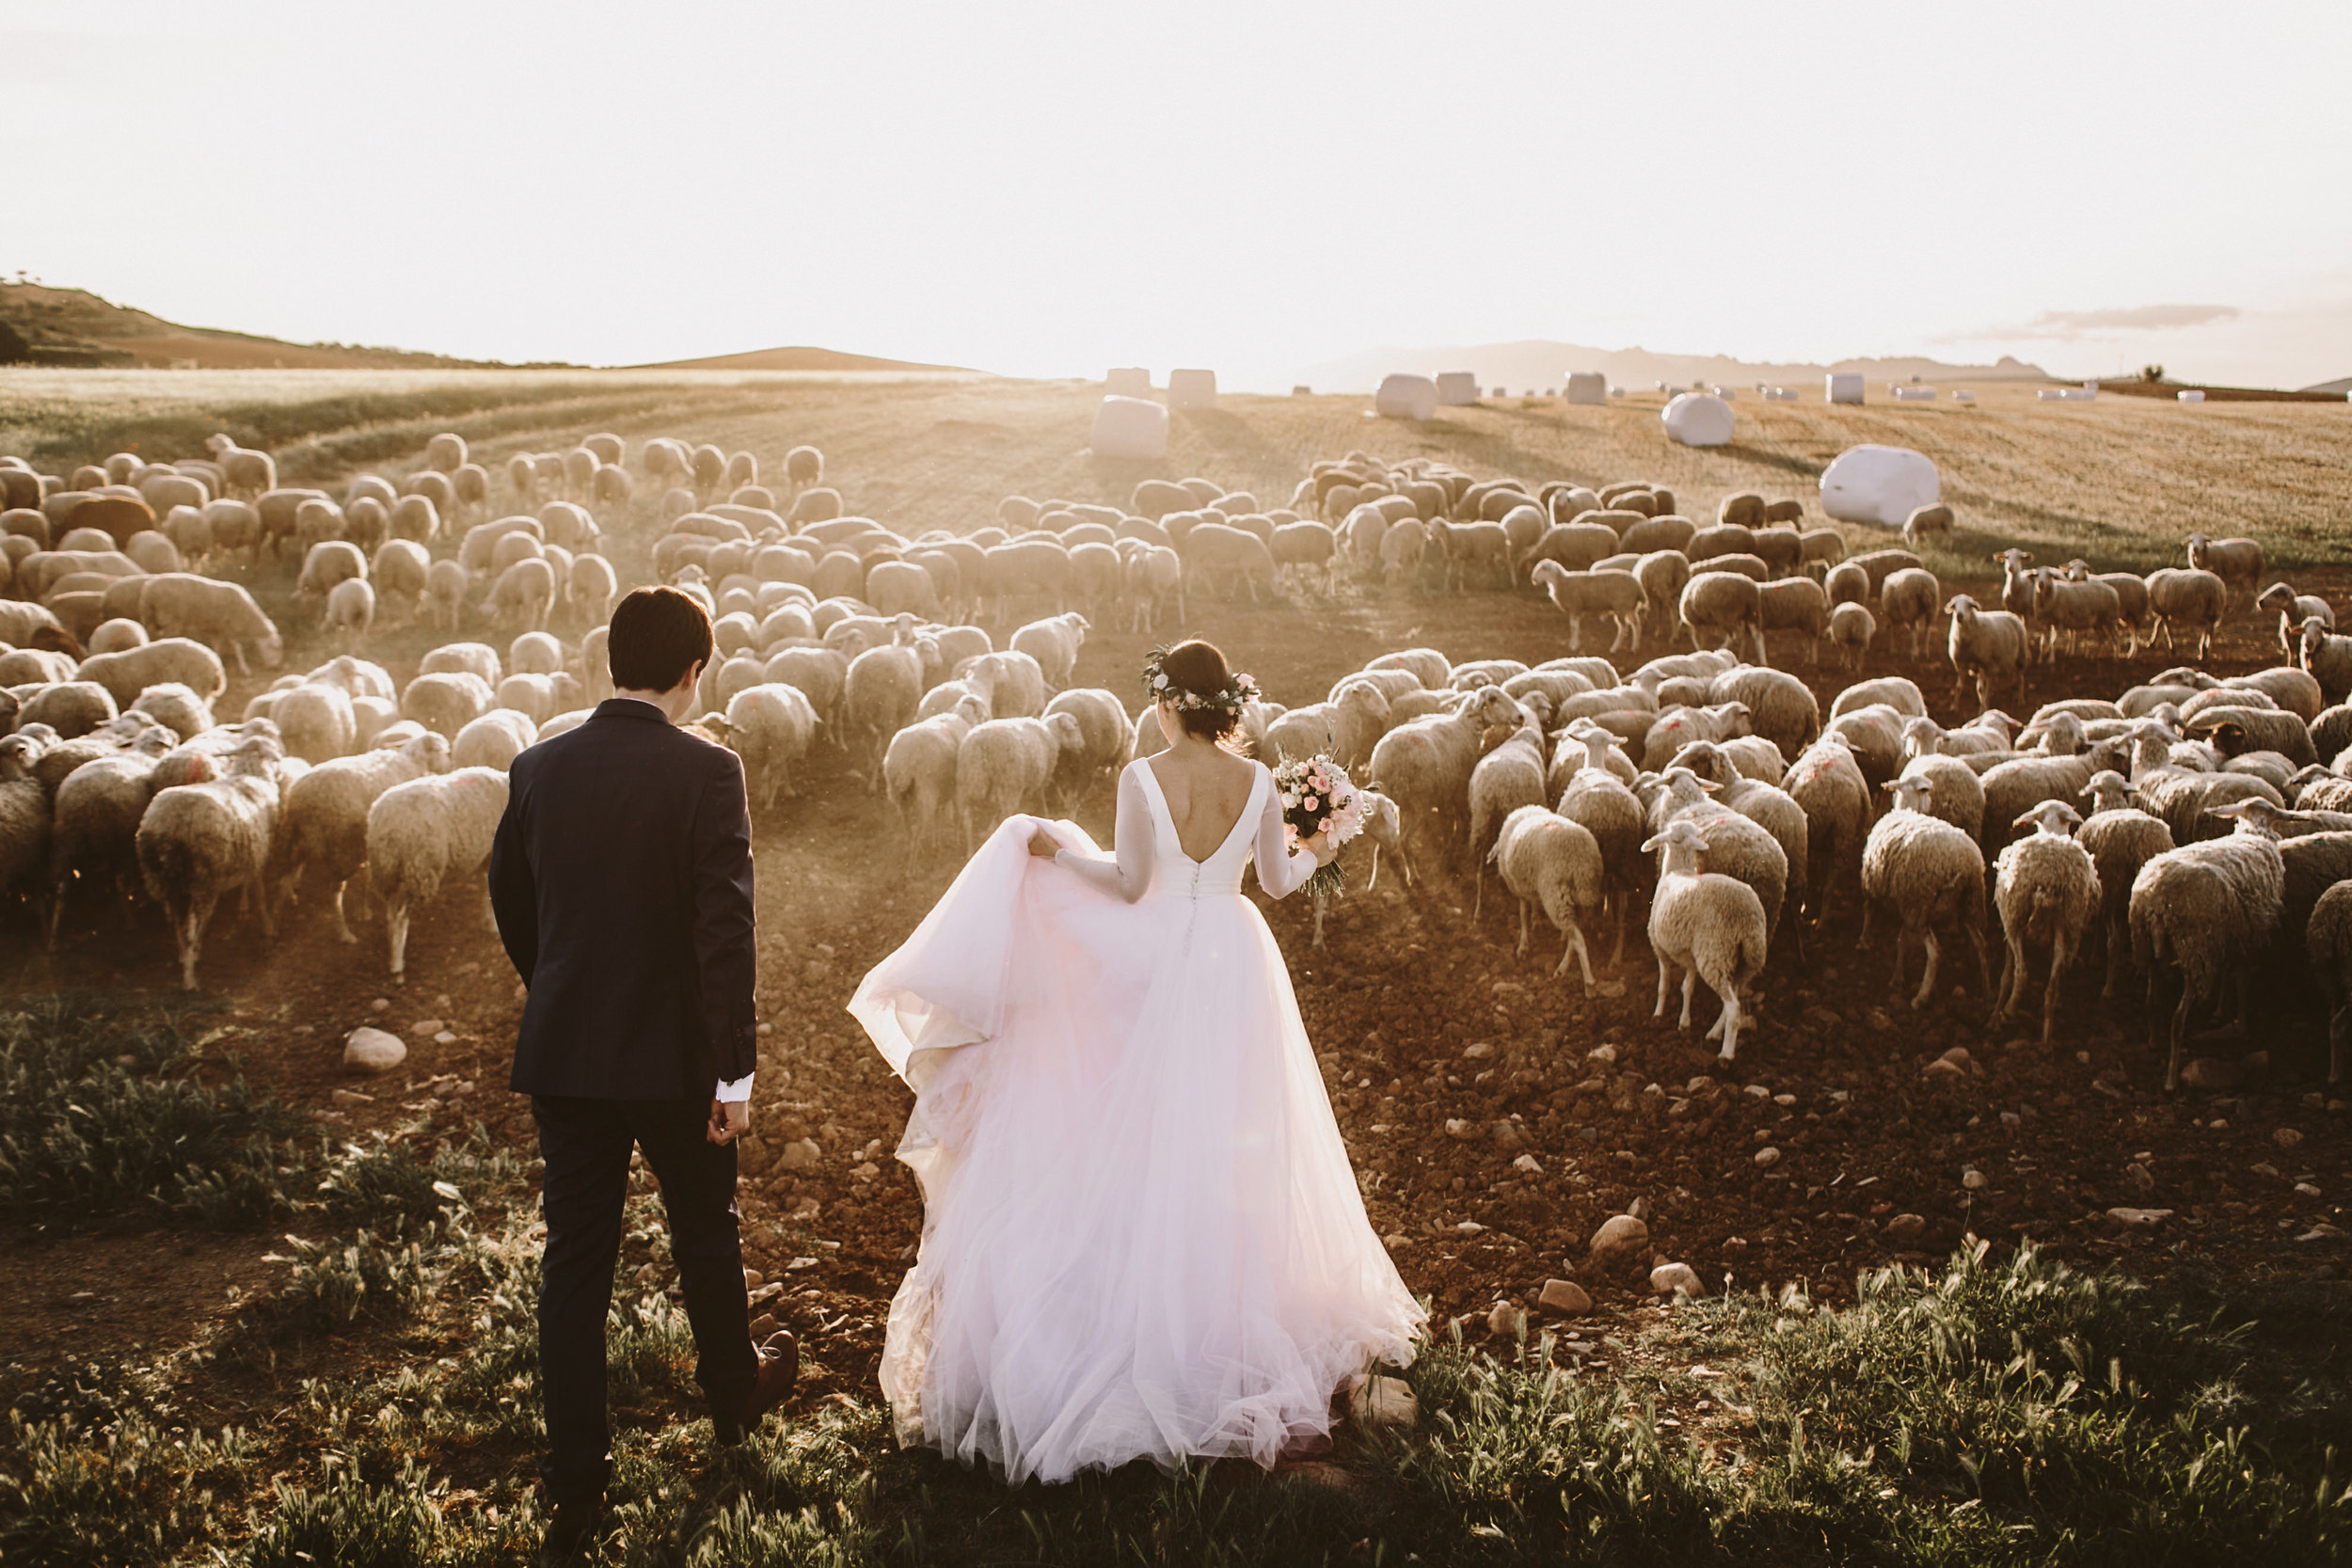
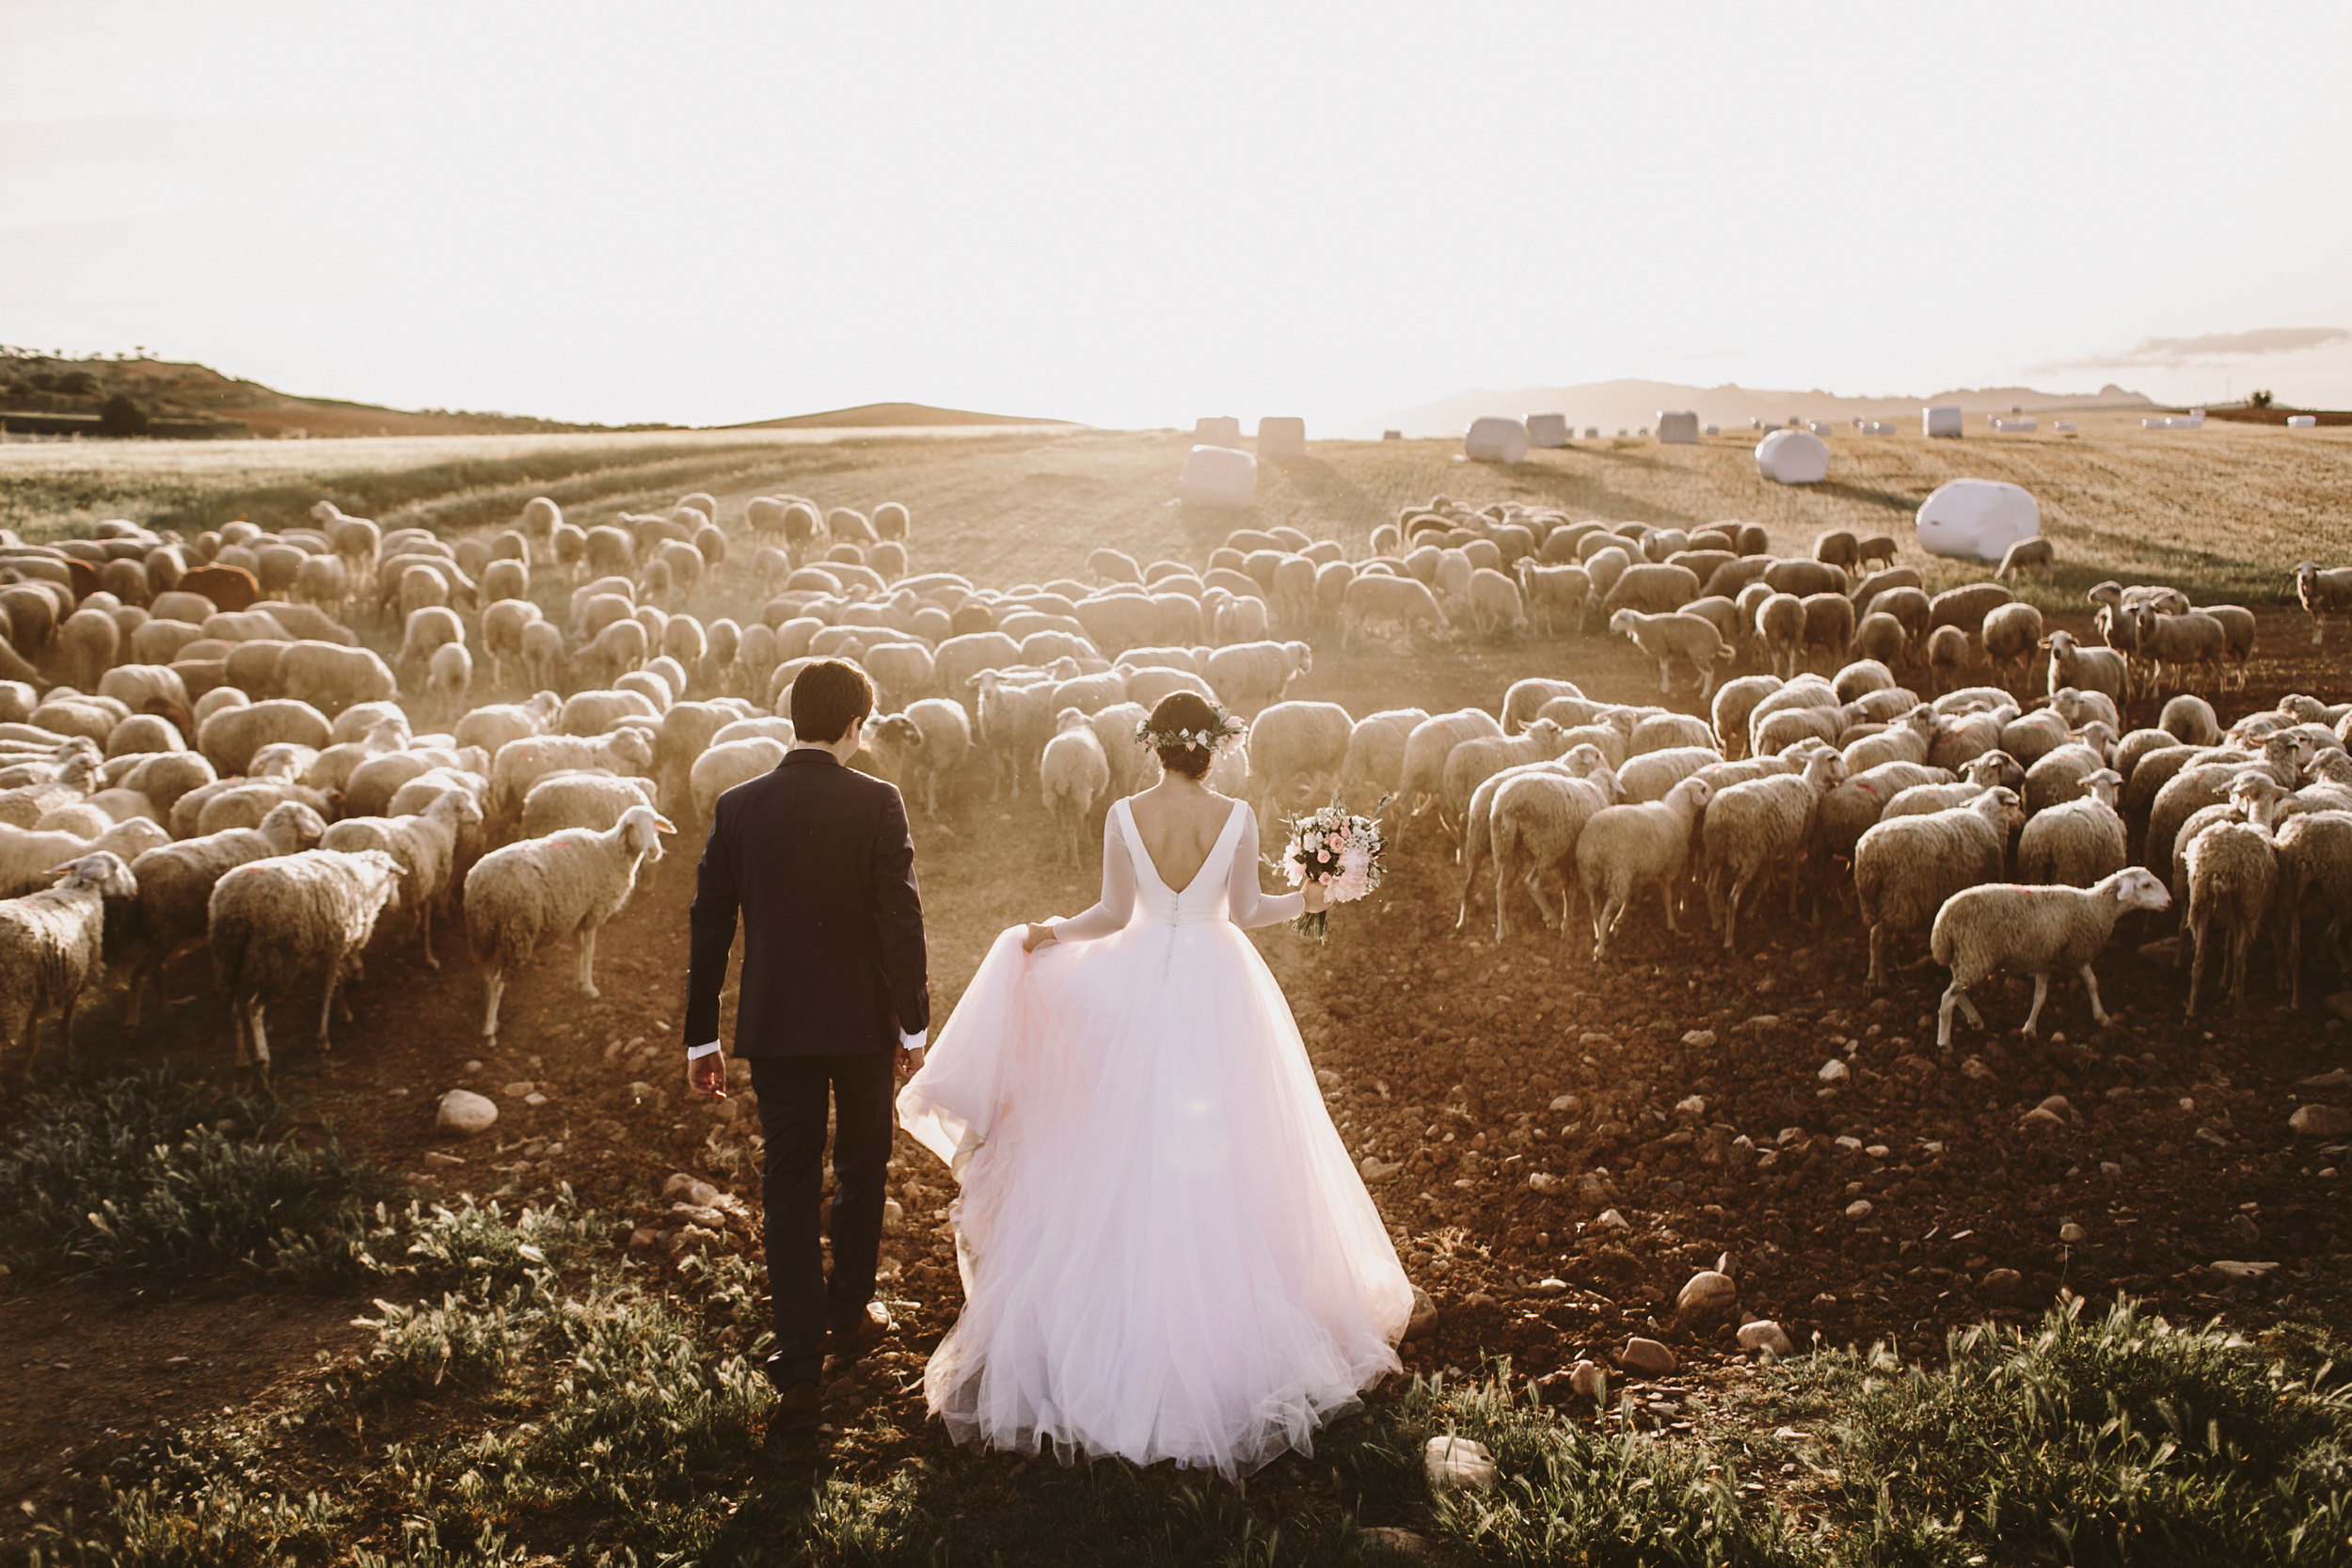
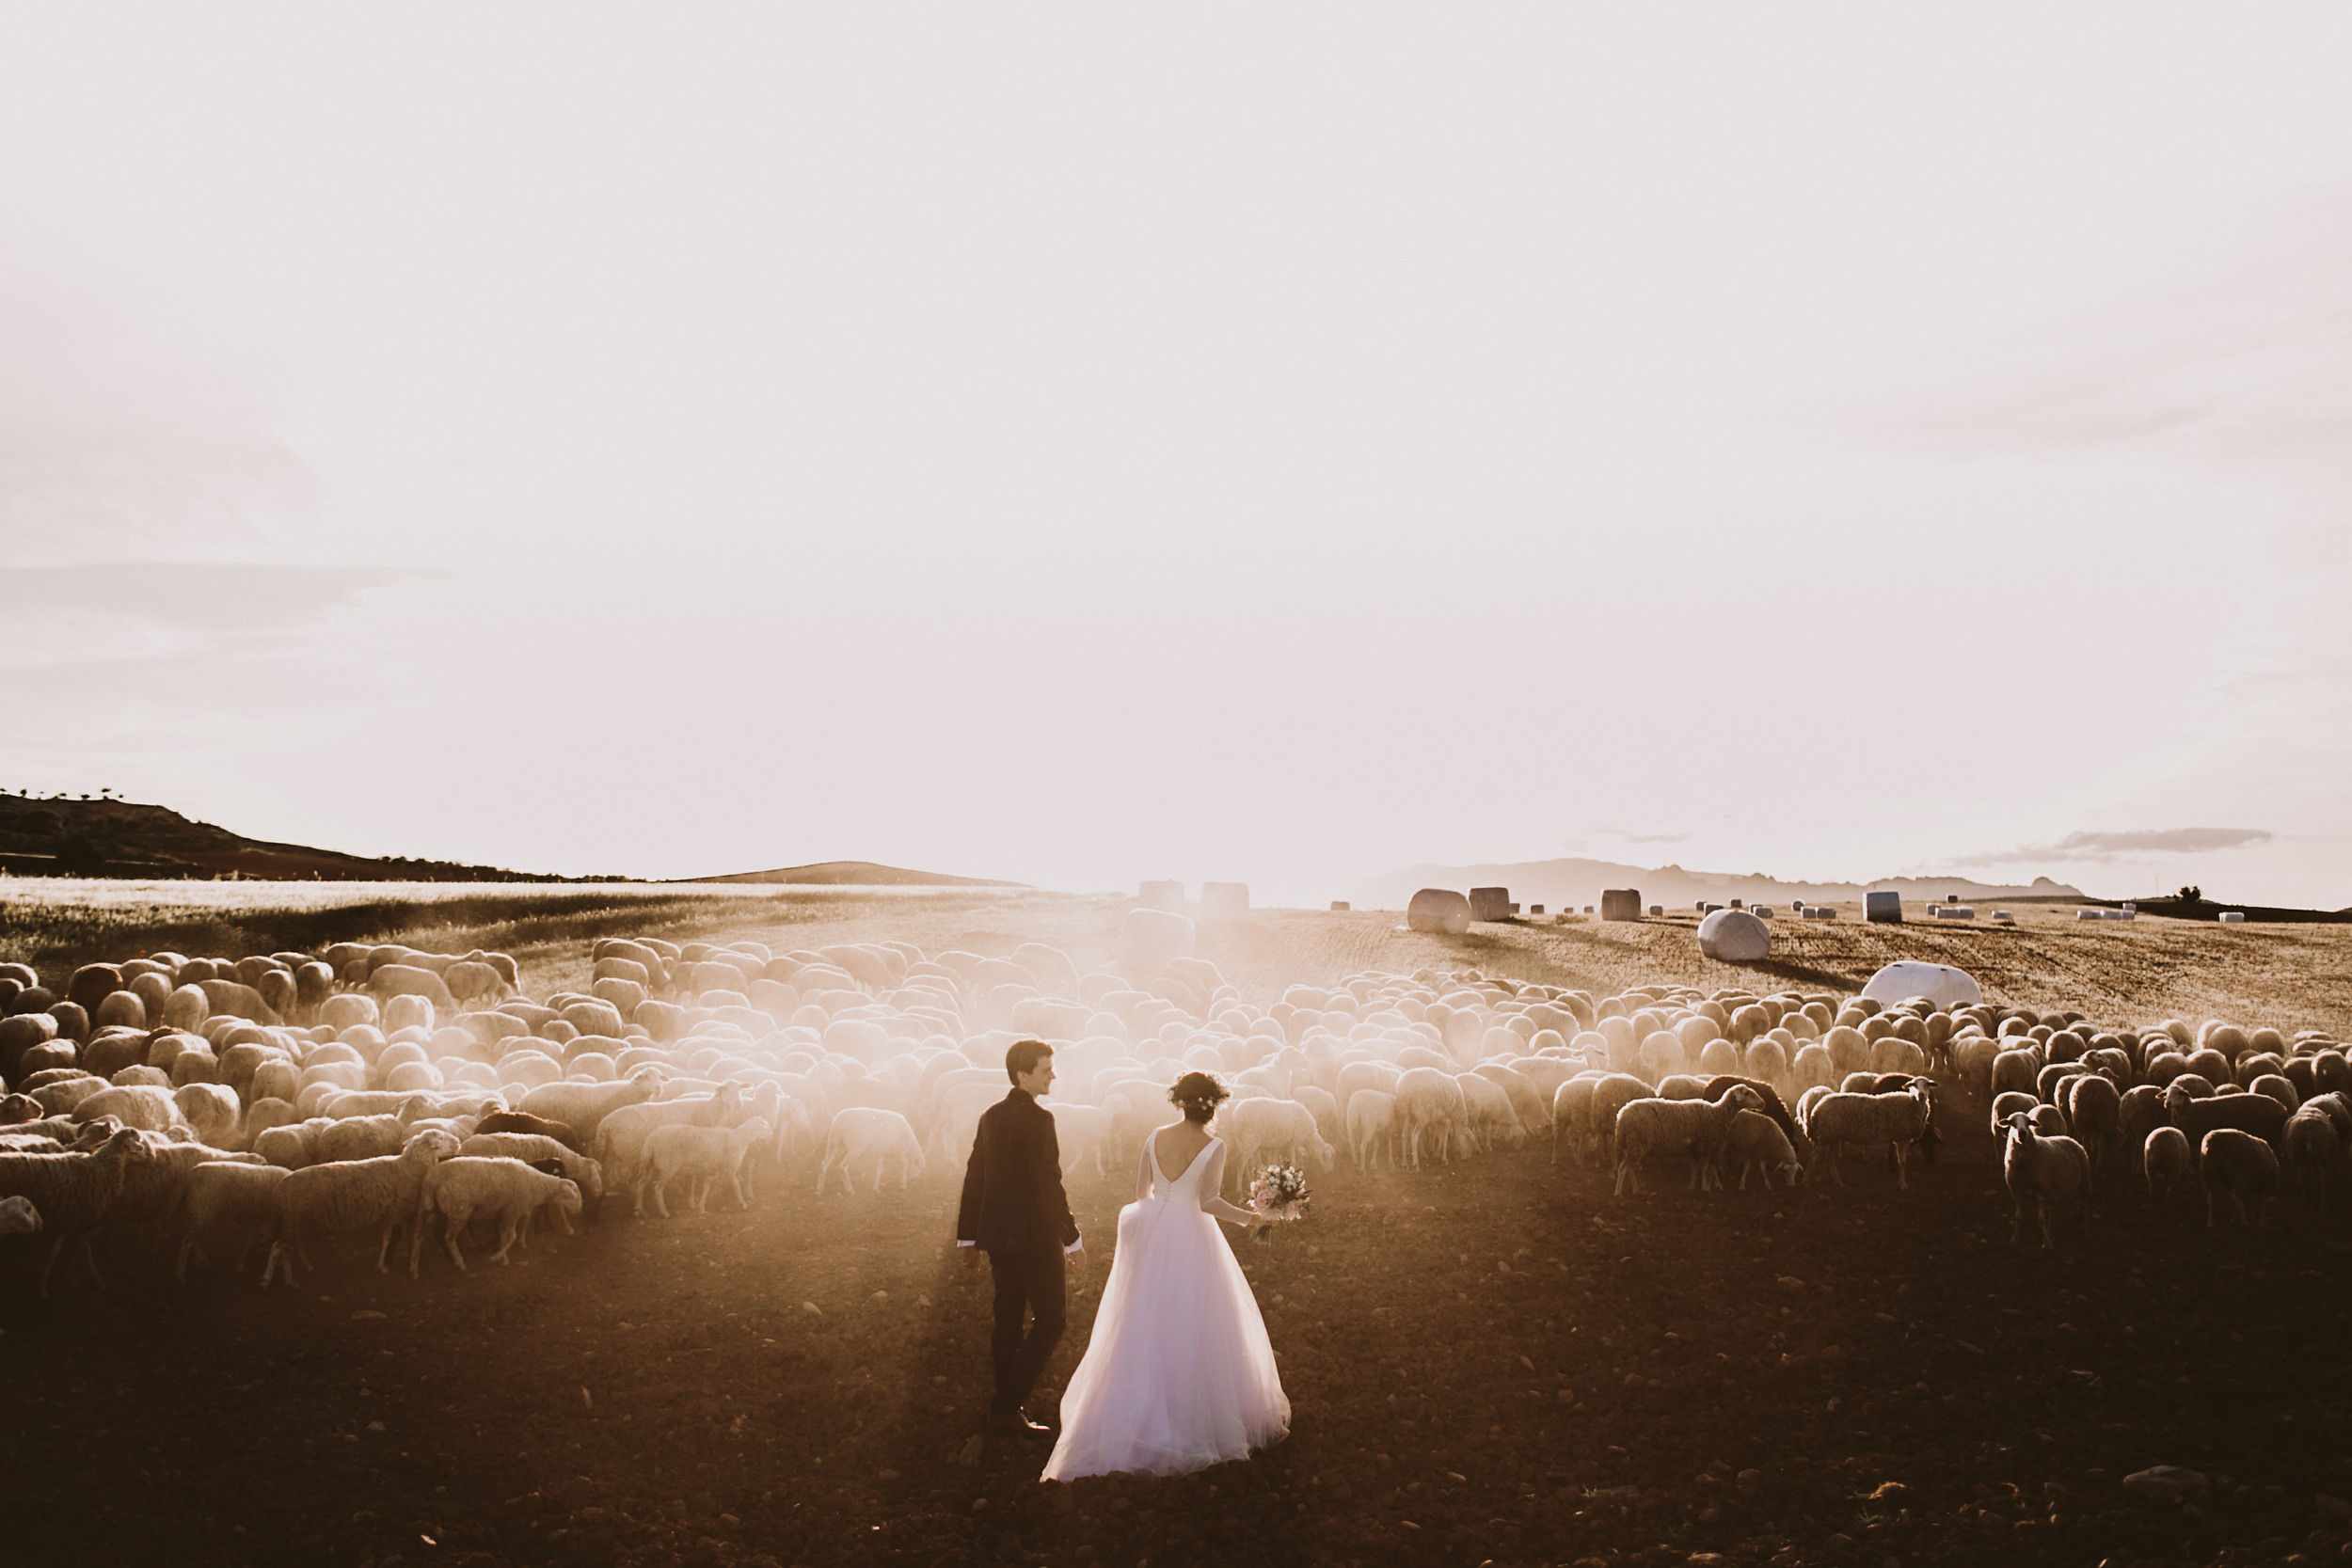
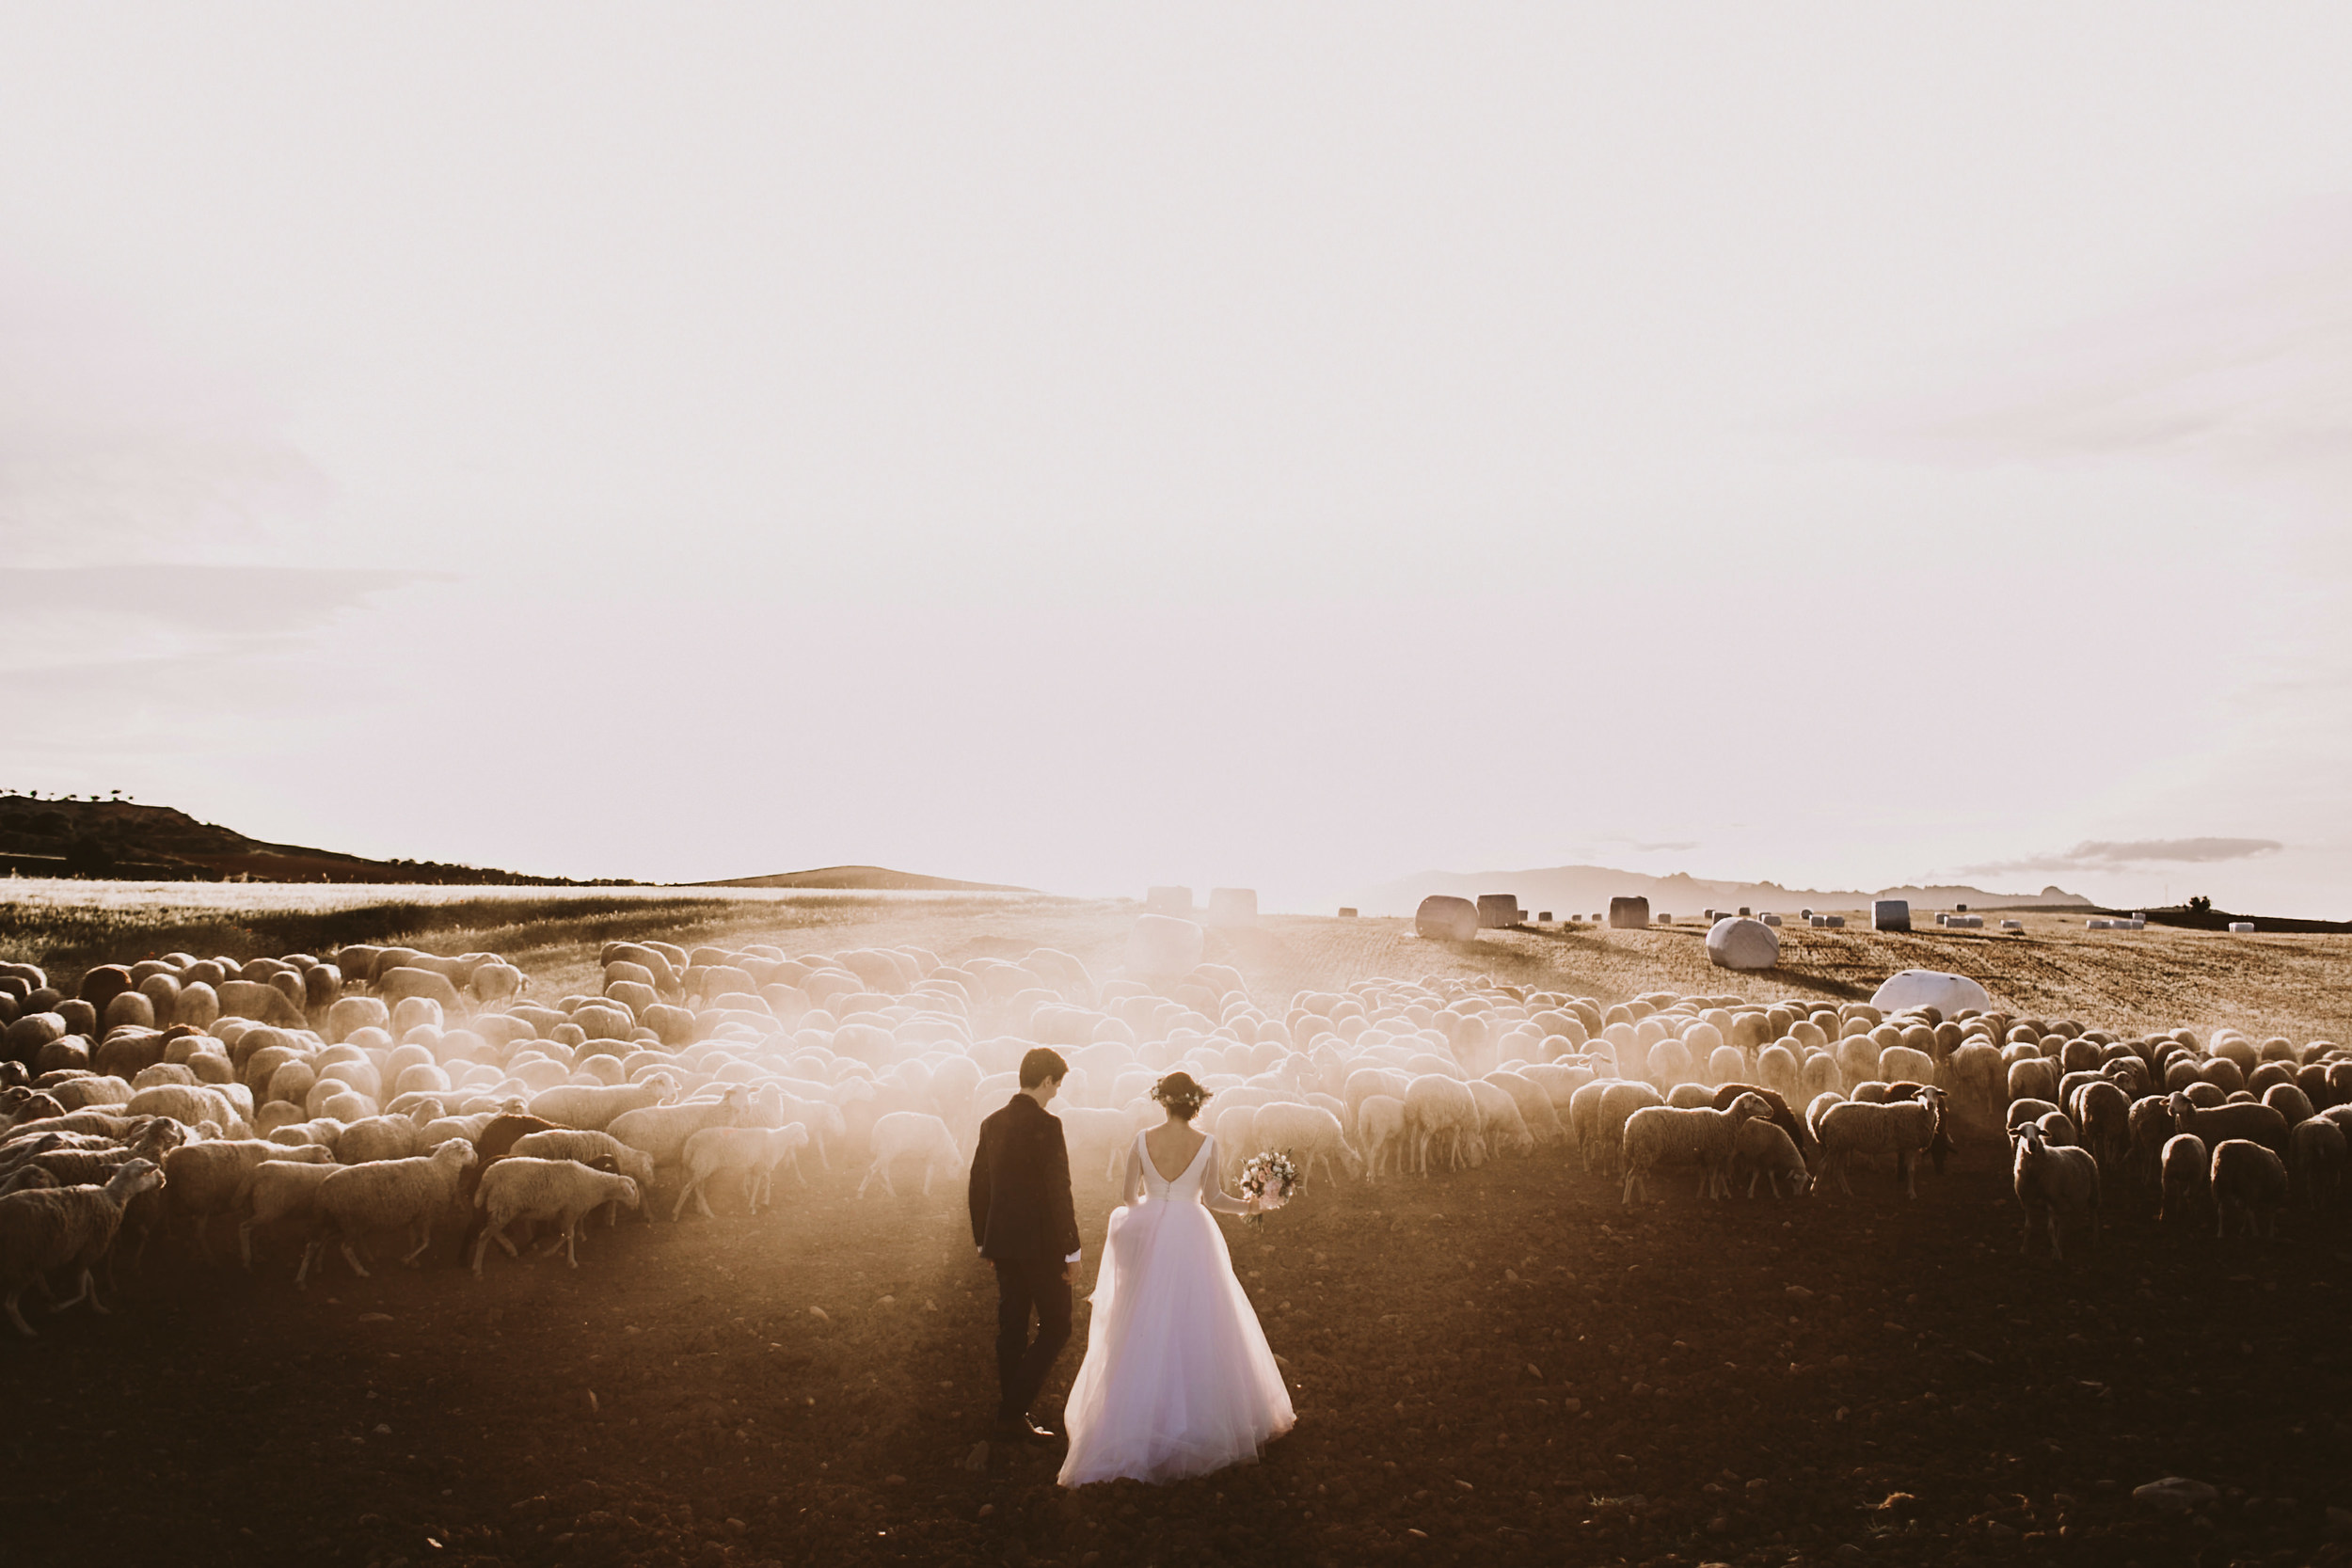
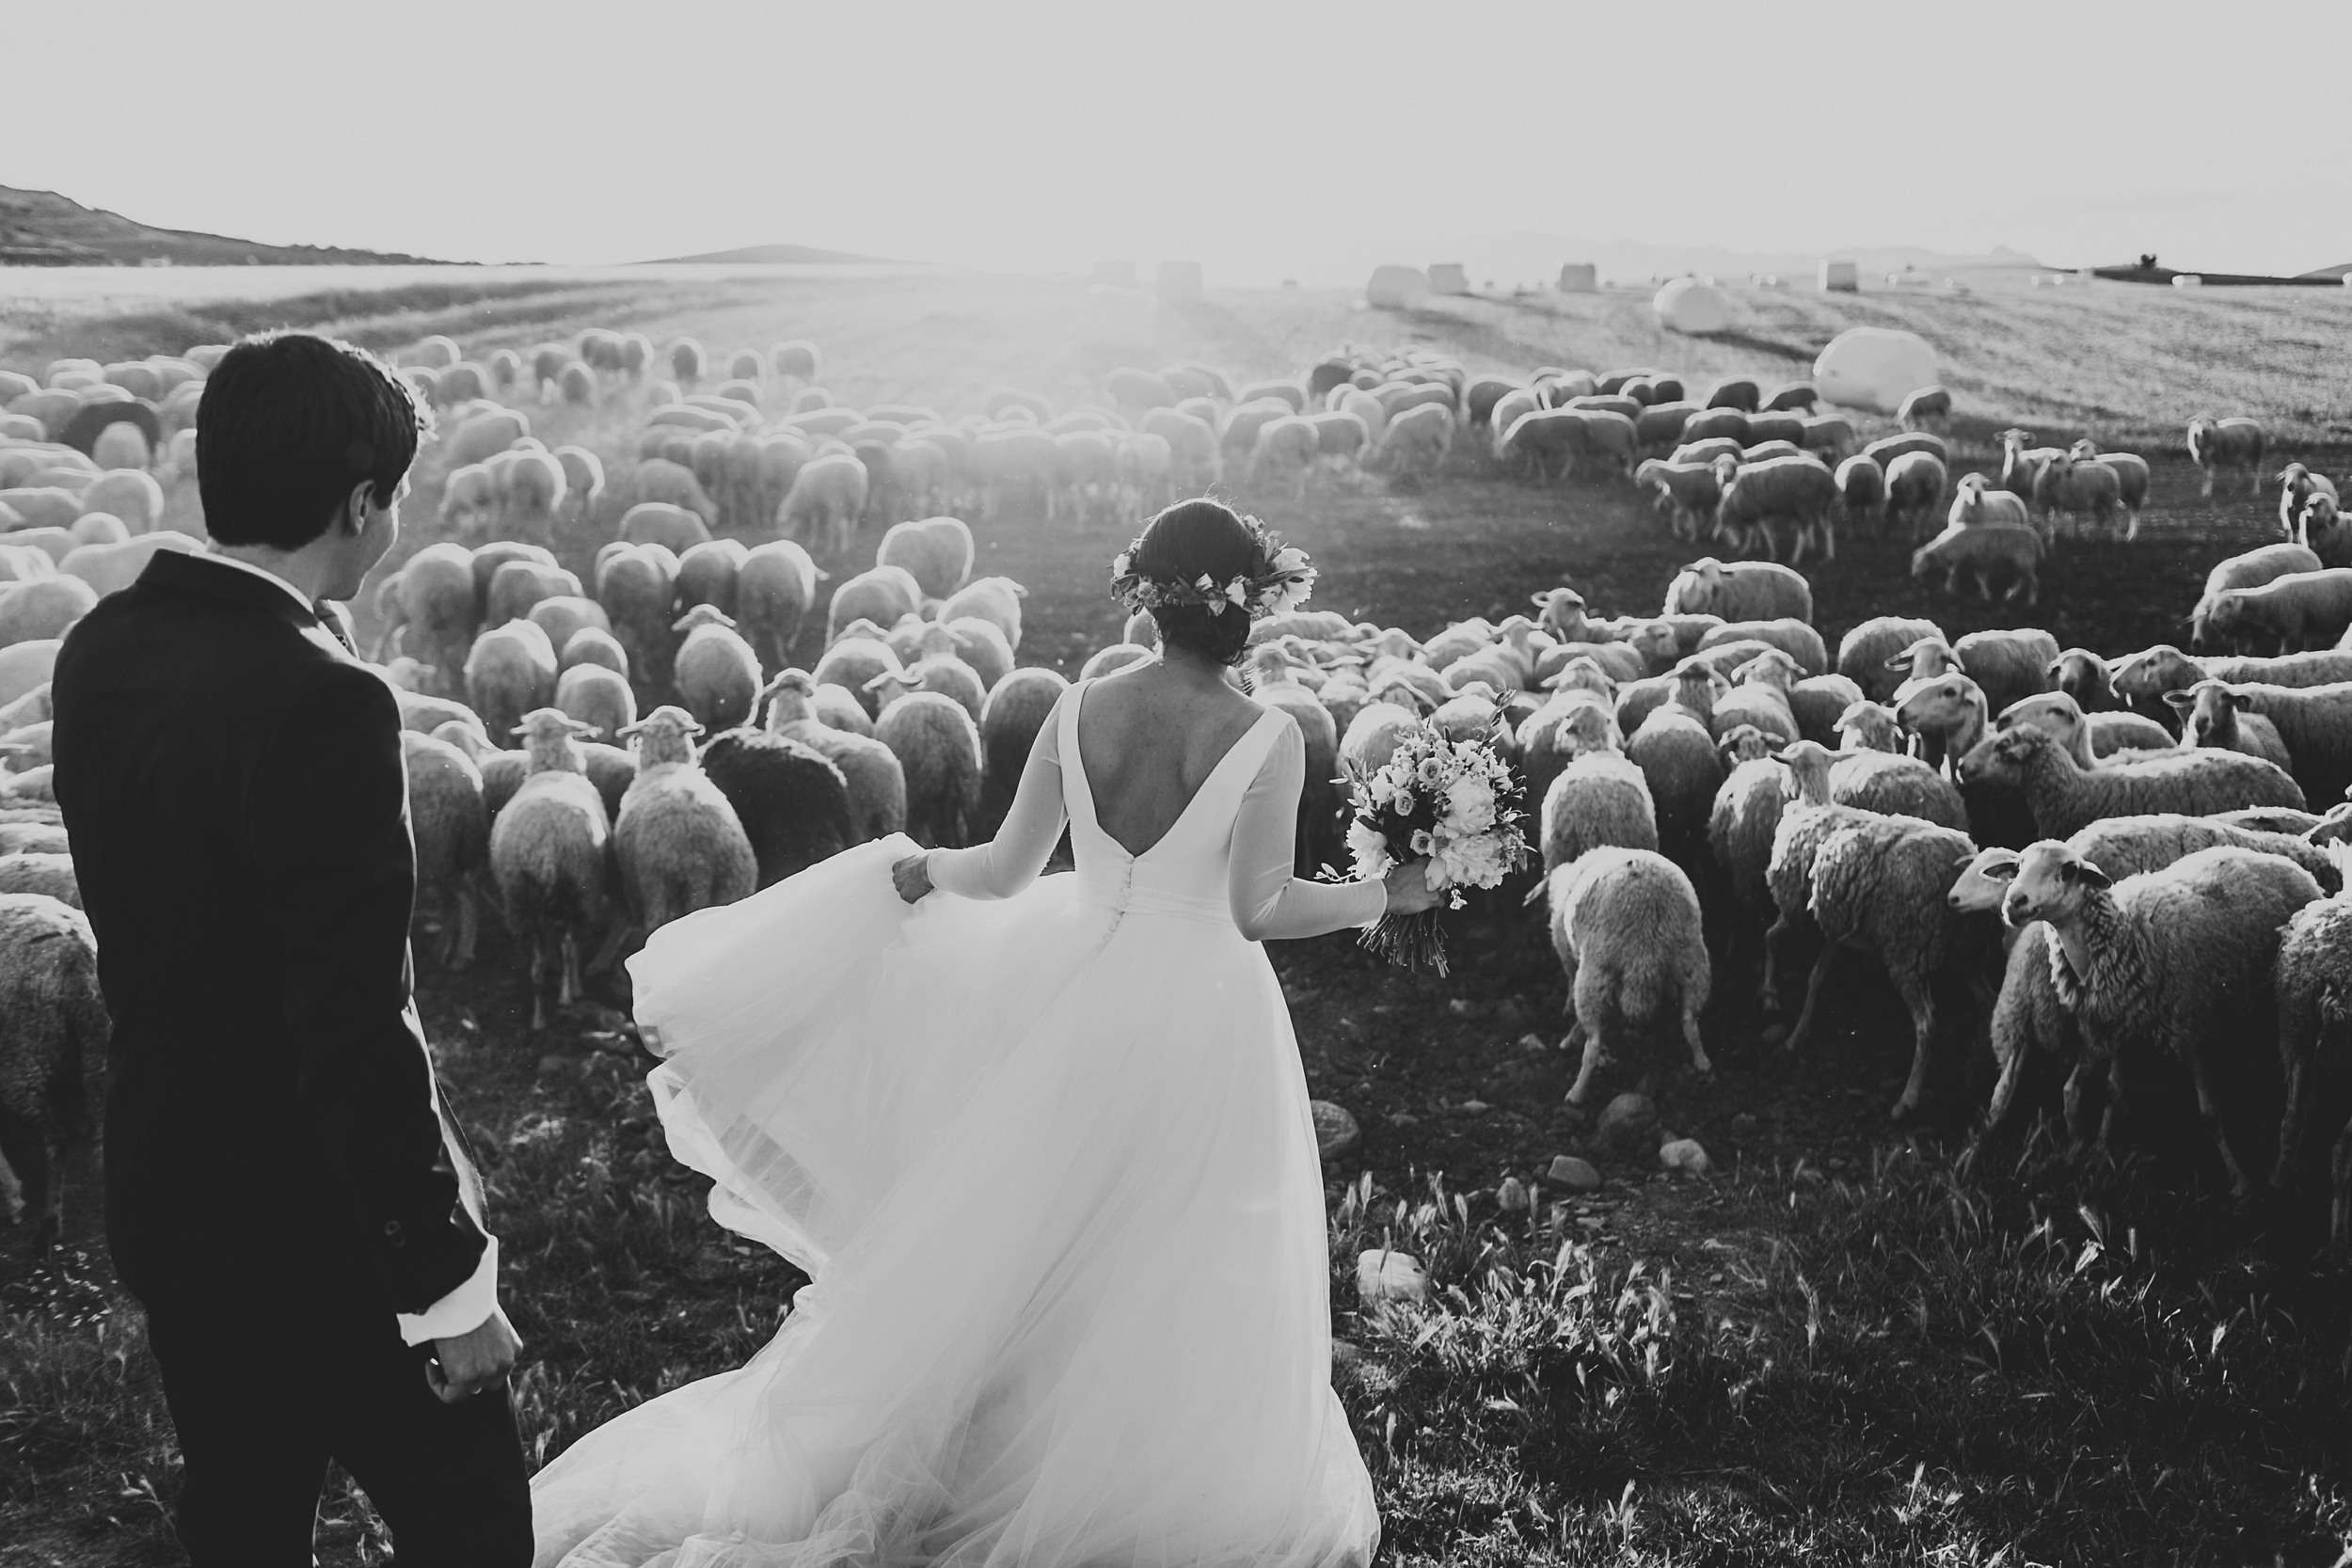
The story of this photo is the story of a photo that I didn't want to take.

We were coming from the ceremony to the venue and taking some time for the portrait shoots. I had in my head some shoots that I planned the day before and we were running out of time.

Suddenly, on the road we saw all the sheep in the country field.

In my head, I saw that great pictures could come from this. But I didn’t ask the bride and groom to take them. I saw a lot of difficulties. Just in my head: how can I ask them to stop the car on a side of the road, get out the car, get into a dusty and dirty country field to try to get a good shot? It was an internal fight for me. I didn’t want to make them feel uncomfortable.

“OK, let’s do this” I said to myself.

And we did it.

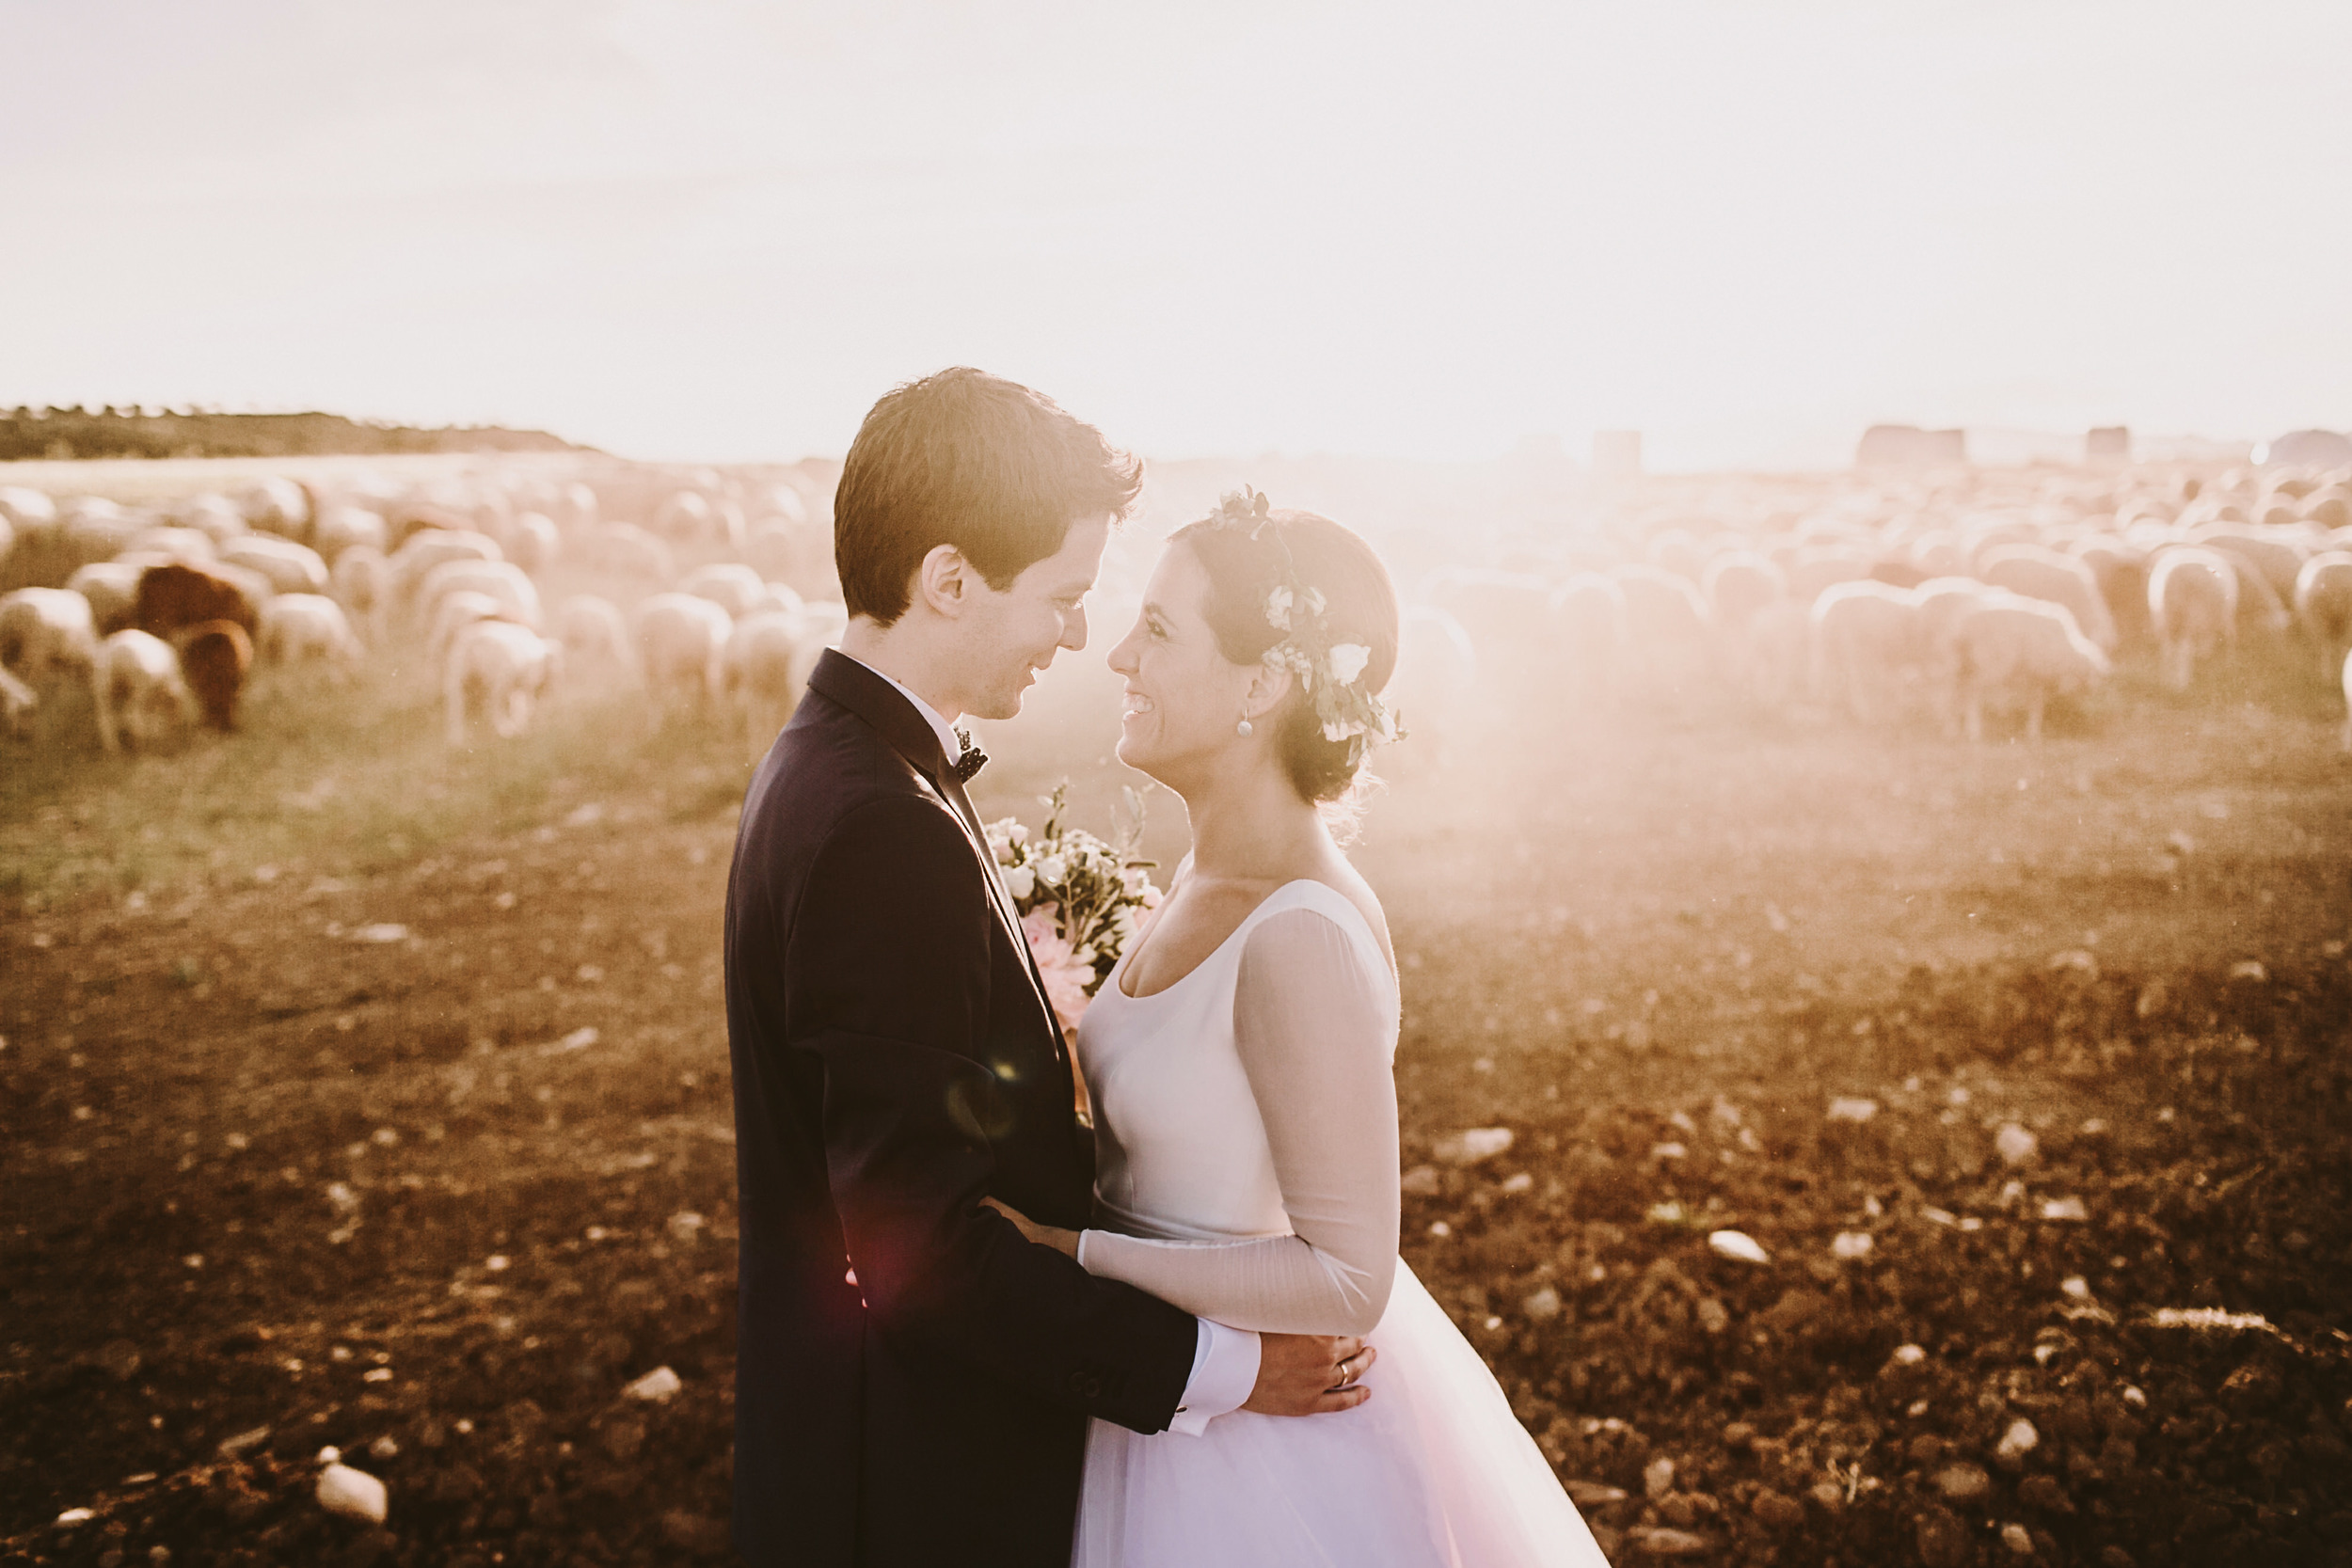
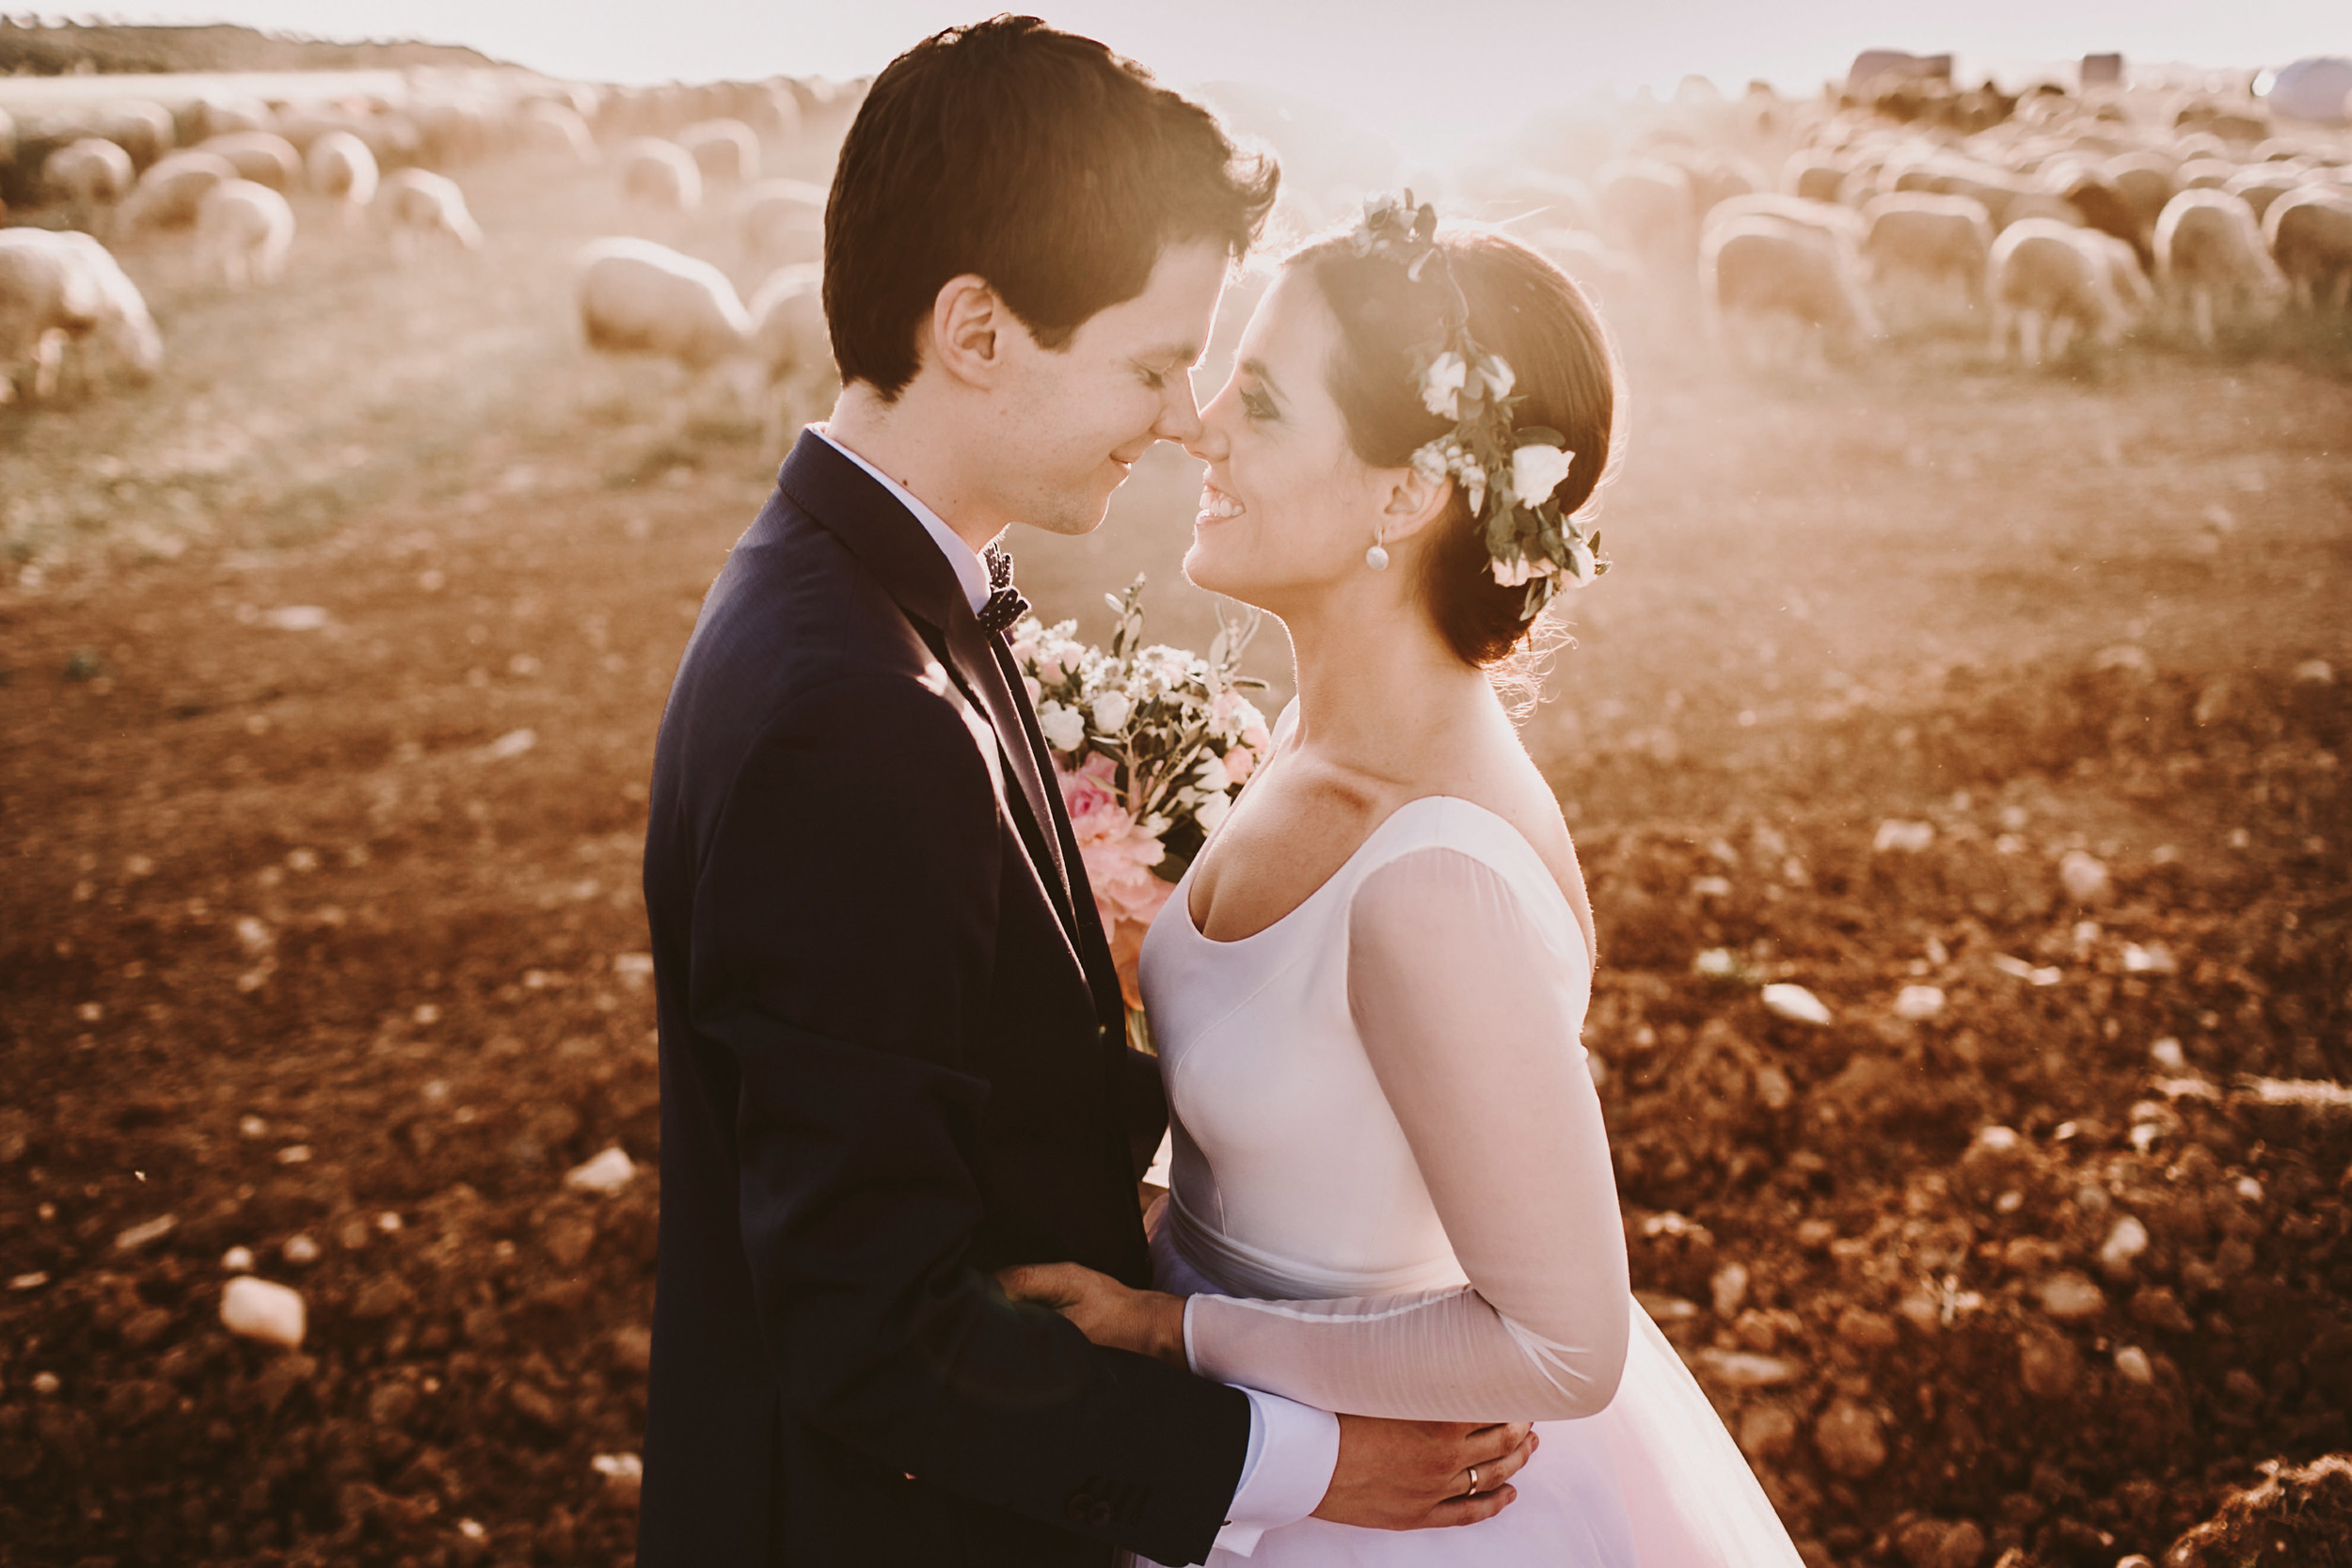
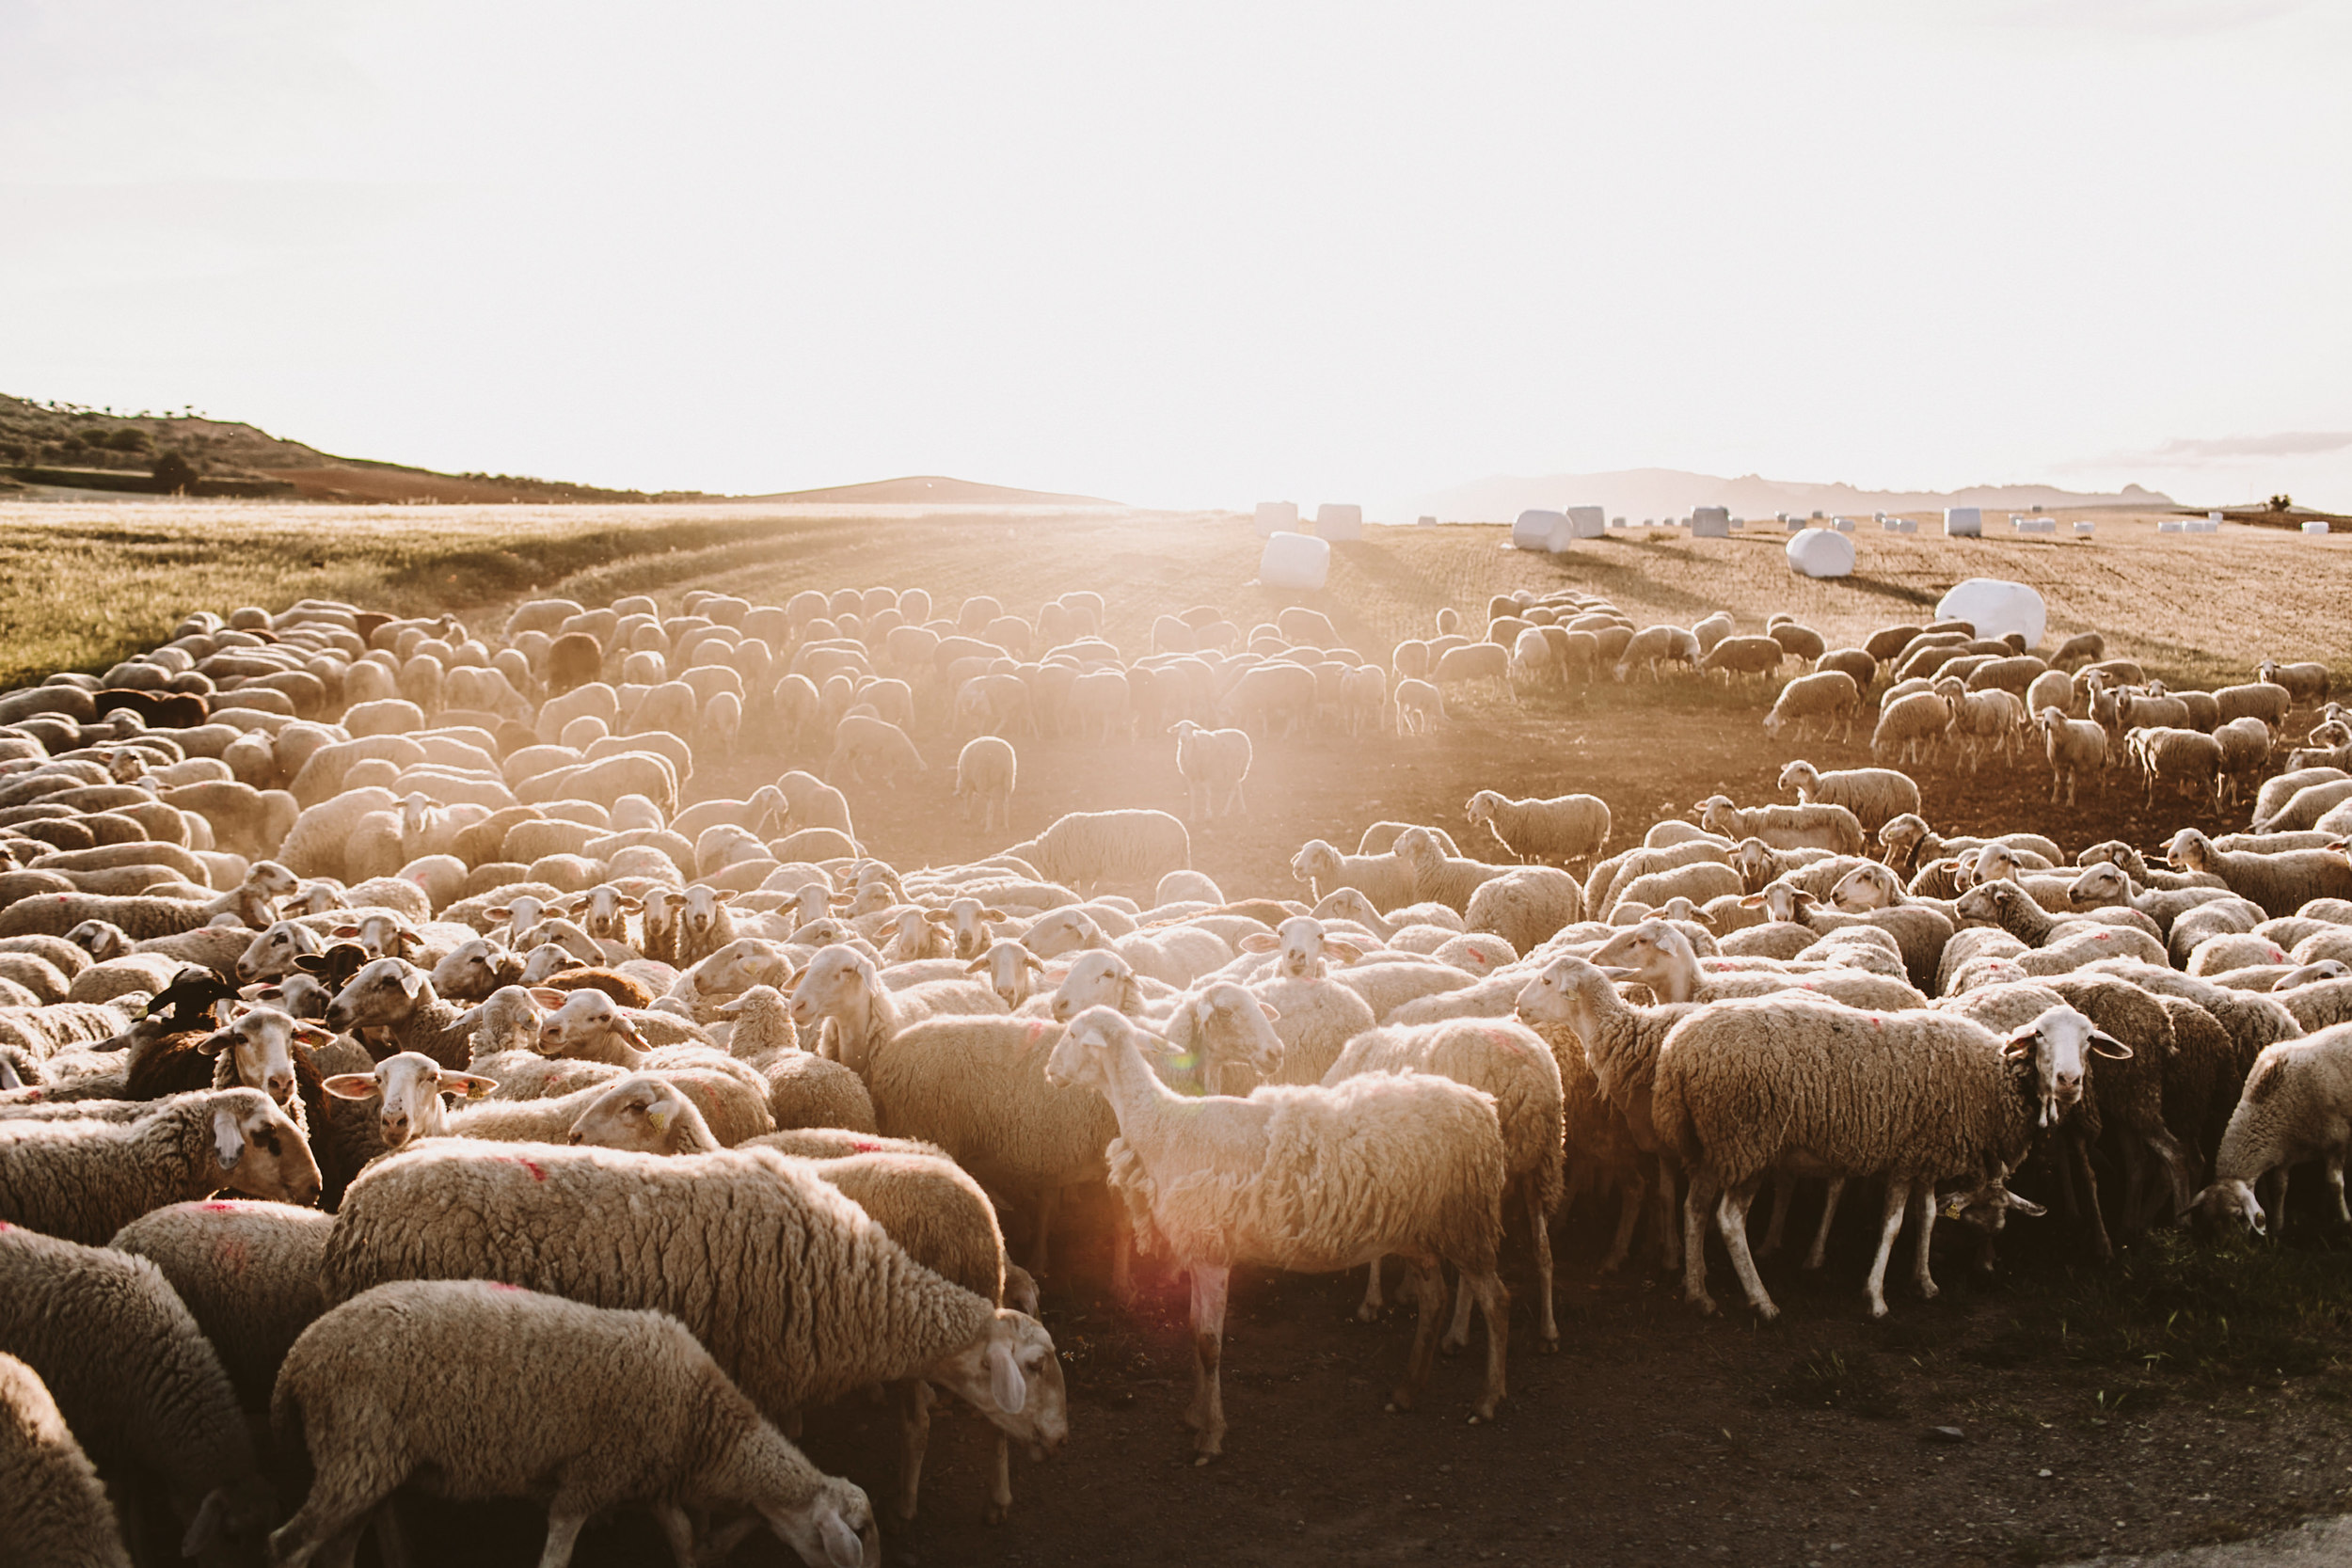
The final image that I wanted to take is this one.

04.rocio.luis.boda.2139.People-Producciones.JPG

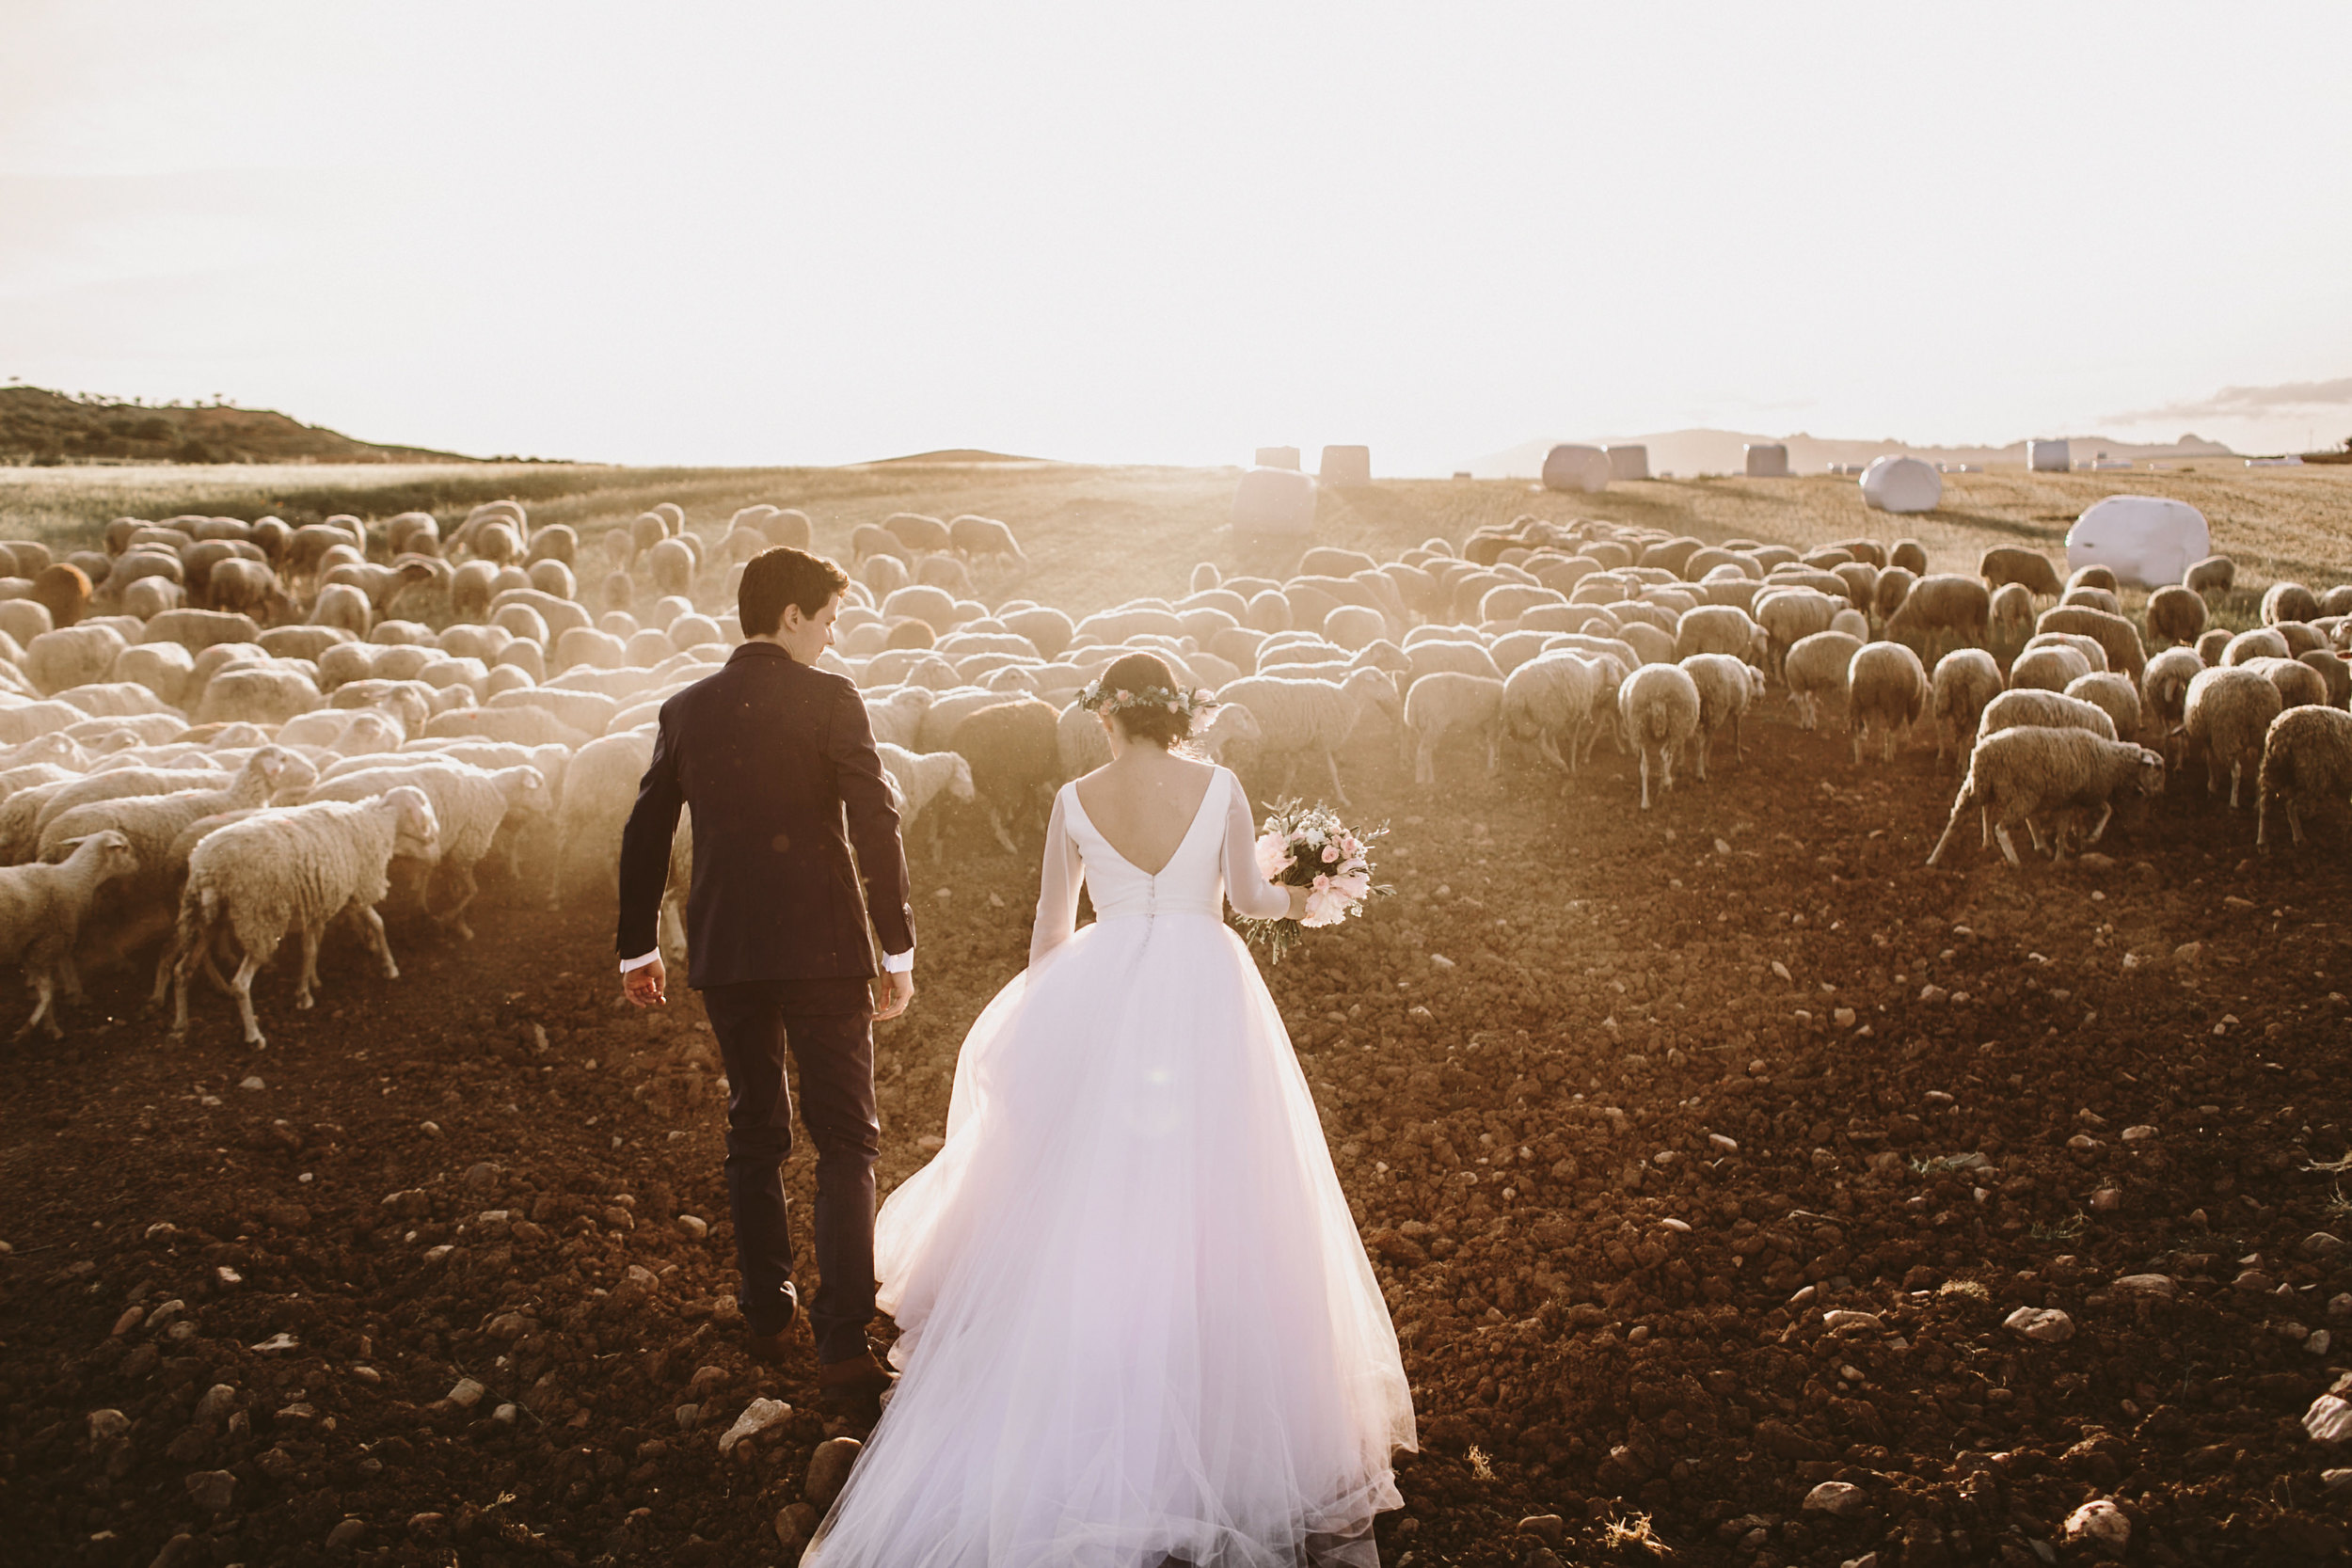
But in the process of getting this, I asked them to take a walk up the hill while I was shooting that sequence.

And then it happened.

The post-processing was as follows:

1. SOOC

01.jpg

2. I use Portra 160++ as a beginning with and warm tone on shadows and pink tone in
highlights.

3. I decreased the highlights and the saturation of reds, yellow and oranges.

4. I opened the photo on Alien Skin Exposure. I applied the Fuji Reala and used the bokeh
tool to give a little tilt effect just on the below zone of the photo, just to avoid that the
stones get the attention.

5. It’s done. :)

Now, dear viewers, Feast your Eyes upon the whole sequence!
Follow Daniel!

Before & After | Johannes Hulsch


Uh, yeah. Let's be honest. All of us were scraping our respective jaws off the floor after laying eyes on this remarkable image, so it was a no-brainer, reaching out to our friend and colleague, Johannes Hulsch, to learn more about him and this fantastic capture.

So, let's see what Johannes had to say . . .

You. Go! 

My name is Johannes Hulsch. I’m 20 years old and currently studying at Leipzig Energy Technology. With photography, I really began after graduating high-school, about 2 years ago. I have found my passion in landscape photography, but challenge myself also with street photography or in-the-field portraits. (Those can be seen at my other Instagram account  @jmh_photo_) I shoot with a 5D Mark III and edit almost exclusively with Lightroom.

What inspires you?

I am surprised again and again how different the landscape can be, especially at different seasons. I'm really excited about the variety of colors in autumn and the mood in the morning. There is nothing more beautiful than when the fog winds through the valley, or the sunbeams cut through the fog. I am always surprised by the diversity of colors and textures.

Do you have a vision in mind before going out and shooting? 

Nine times out of ten, I already have an idea in my mind - what I want to photograph - when I leave the house. I go to places that I’ve been scouting earlier and try to implement my idea. Often the weather conditions are not optimal and you have to improvise and make the best of it. In other cases, I simply head out with no fixed destination and discover places where I've never been before. I enjoy discovering new places and knowing my surroundings better than before. 

Dude. That Bridge image. Tell us everything . . . 

My buddy (IG @anton_notna) and I decided to go on a weekend trip in autumn to Rakotz Bridge at Kromlau in Saxony. Because we'd seen that motif so often on Instagram, we decided to create our own version of it. This weekend an Insta-Meet was held in Dresden, and the bridge was on the way. We stayed at a hotel nearby and went to the bridge at 6 o'clock in the morning . On arrival, we came upon a group of five photographers from Berlin all wanting to shoot this motif as well. The weather and light that morning was nearly perfect, so we took  a lot of great pictures. After coming home, I imported the image on my Mac and experimented with the VSCO presets I use most often. So, that’s the whole story behind the image. 

SOOC

FINAL EDIT

Some other perspectives . . .

To enjoy more of Johannes' work, follow him here:

Instagram                                                       Flickr                                                                Tumblr

VSCO and Leica - A Beautiful Duo

There have been a lot of different key points in my 5 year career that have helped define my style and helped me grow into the photographer I am today. One of the biggest being when I introduced VSCO to my workflow. Being proficient in Lightroom and Photoshop, my workflow was tedious and slow, spending a lot of time playing with the HSL sliders and curve settings until I had things exactly the way I wanted them. Of course I had my own presets but I was constantly tweaking them never really happy with how they looked. Since I shot a lot of 35mm and Medium Format film early on when I was younger and as I started taking photography more serious, my editing always centered around getting my digital images to take on the look of film. VSCO came along and not only made that process much easier and quicker, but offered me new looks that I otherwise would have never reached on my own...or taken much MUCH longer.

Jay Cassario

Jay Cassario

The other key thing that helped me to not only define my style, but ultimately made me an overall better photographer, was when I started shooting with a Leica M9 rangefinder. Having only shot with DSLRs for my professional digital work, the name Leica had been pretty foreign to me up until a year and a half ago. I was given a Leica M9 to test and write up a review on for the rental company Lumoid and I unexpectedly fell in love. A month later, I was selling gear that had been collecting dust to fund a new M9 and a couple Leica lenses. Nothing has changed my style of shooting and the overall look to my images more than when I started shooting with the M9. The rangefinder is different from the moment you pick it up and put it to your eye, no longer seeing through the lens like you do with an SLR. There’s no DOF preview just a window leading to a view much more raw and natural, allowing you to see everything as it is in front of you. With its fully manual focusing system that is much different than that of an SLR or DSLR, you are forced to slow down. There aren’t any menu banks with tons of options to choose from, just one menu. Once set up, it’s a camera that you simply pick up and shoot. It does its job without getting in its own way. It lets the photographer do something that is often lost with all the newer technology, and that’s to use their vision, imagination, and ideas to create an image without the interference of technology.

It’s not just about the experience though, it’s also about the images that the M9 produces, especially when combined with VSCO. The images have a unique look to them that I personally have fallen in love with and so far, my clients have too. While it isn’t great at low-light and high ISO performance, when shot in good or decent lighting, the M9 shines like no other. The M9 has a full frame, 18 megapixel, CCD sensor made by Kodak, which also lacks an AA-filter like that of the Nikon D800 line-up. The images are crisp and have a lot of character along with pleasing and beautiful colors, providing a look that I find authentic and similar to film. Yes, the lenses have a lot to do with the images it kicks out, which is why I spent the extra money on what has become my overall favorite lens, the Leica 50mm Summilux-M ASPH.

Leica is an expensive choice, and I’m currently testing my Leica lenses on the newer and much cheaper Sony A7 bodies to see how they compare. So far all I can say is that I haven’t had the desire to leave my M9 at home to bring a Sony in its place. For those of you who are familiar with Leica know that the newer M 240 is quite popular as well which handles low light much better and has an excellent EVF. I have shot with the M 240 and prefer the images that the M9 produces. There is something very unique about the look of the M9 images produced by its CCD sensor that I simply love, and while some look at the poor low light performance as a hinderance, I don’t. I have other cameras for low light situations, the best in the business, the Nikon D750 and the Df. When I want low light performance I simply reach for one of them.

There will come times in your career when something will change the way you do things, think about things, or simply how you look at things. In the long run it helps us define who we are as photographers and creatives. Always be open to learning and not getting stuck in your ways, it will only slow you down. Technology is changing faster than ever in photography right now and I’m excited to see what the next few years brings us. 

Here are a handful of my Leica images taken over the past year, all processed with VSCO and tweaked to my liking. To see more, I have a full gallery on my page www.jaycassariophoto.com, or follow check out my FB page HERE. 

Barak.jpg

Follow our author Jay