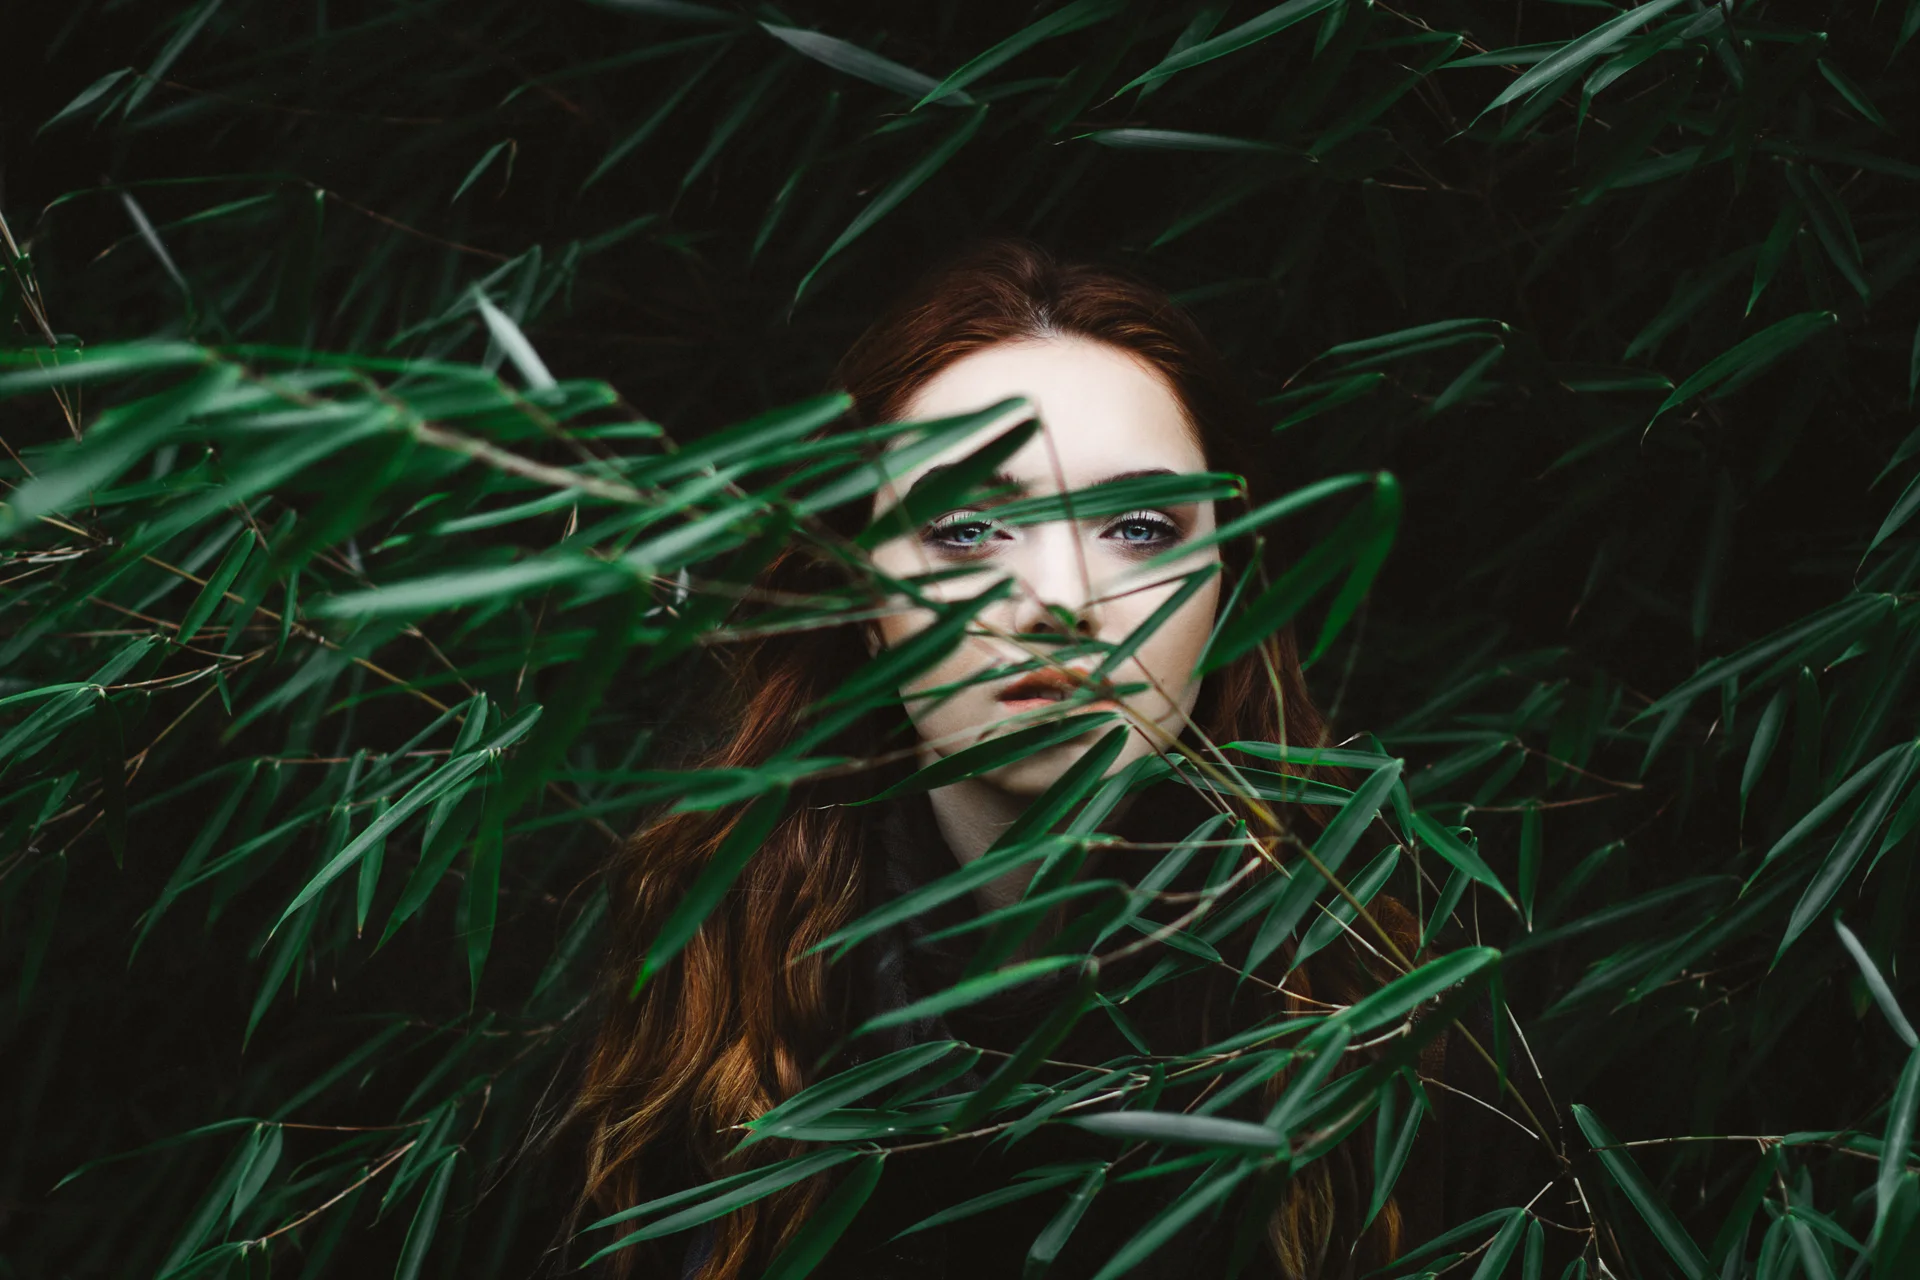
“I placed Megan right up against the bush and pulled one of its branches round to envelop her in the texture”
Before
How did you manage to achieve this shot?
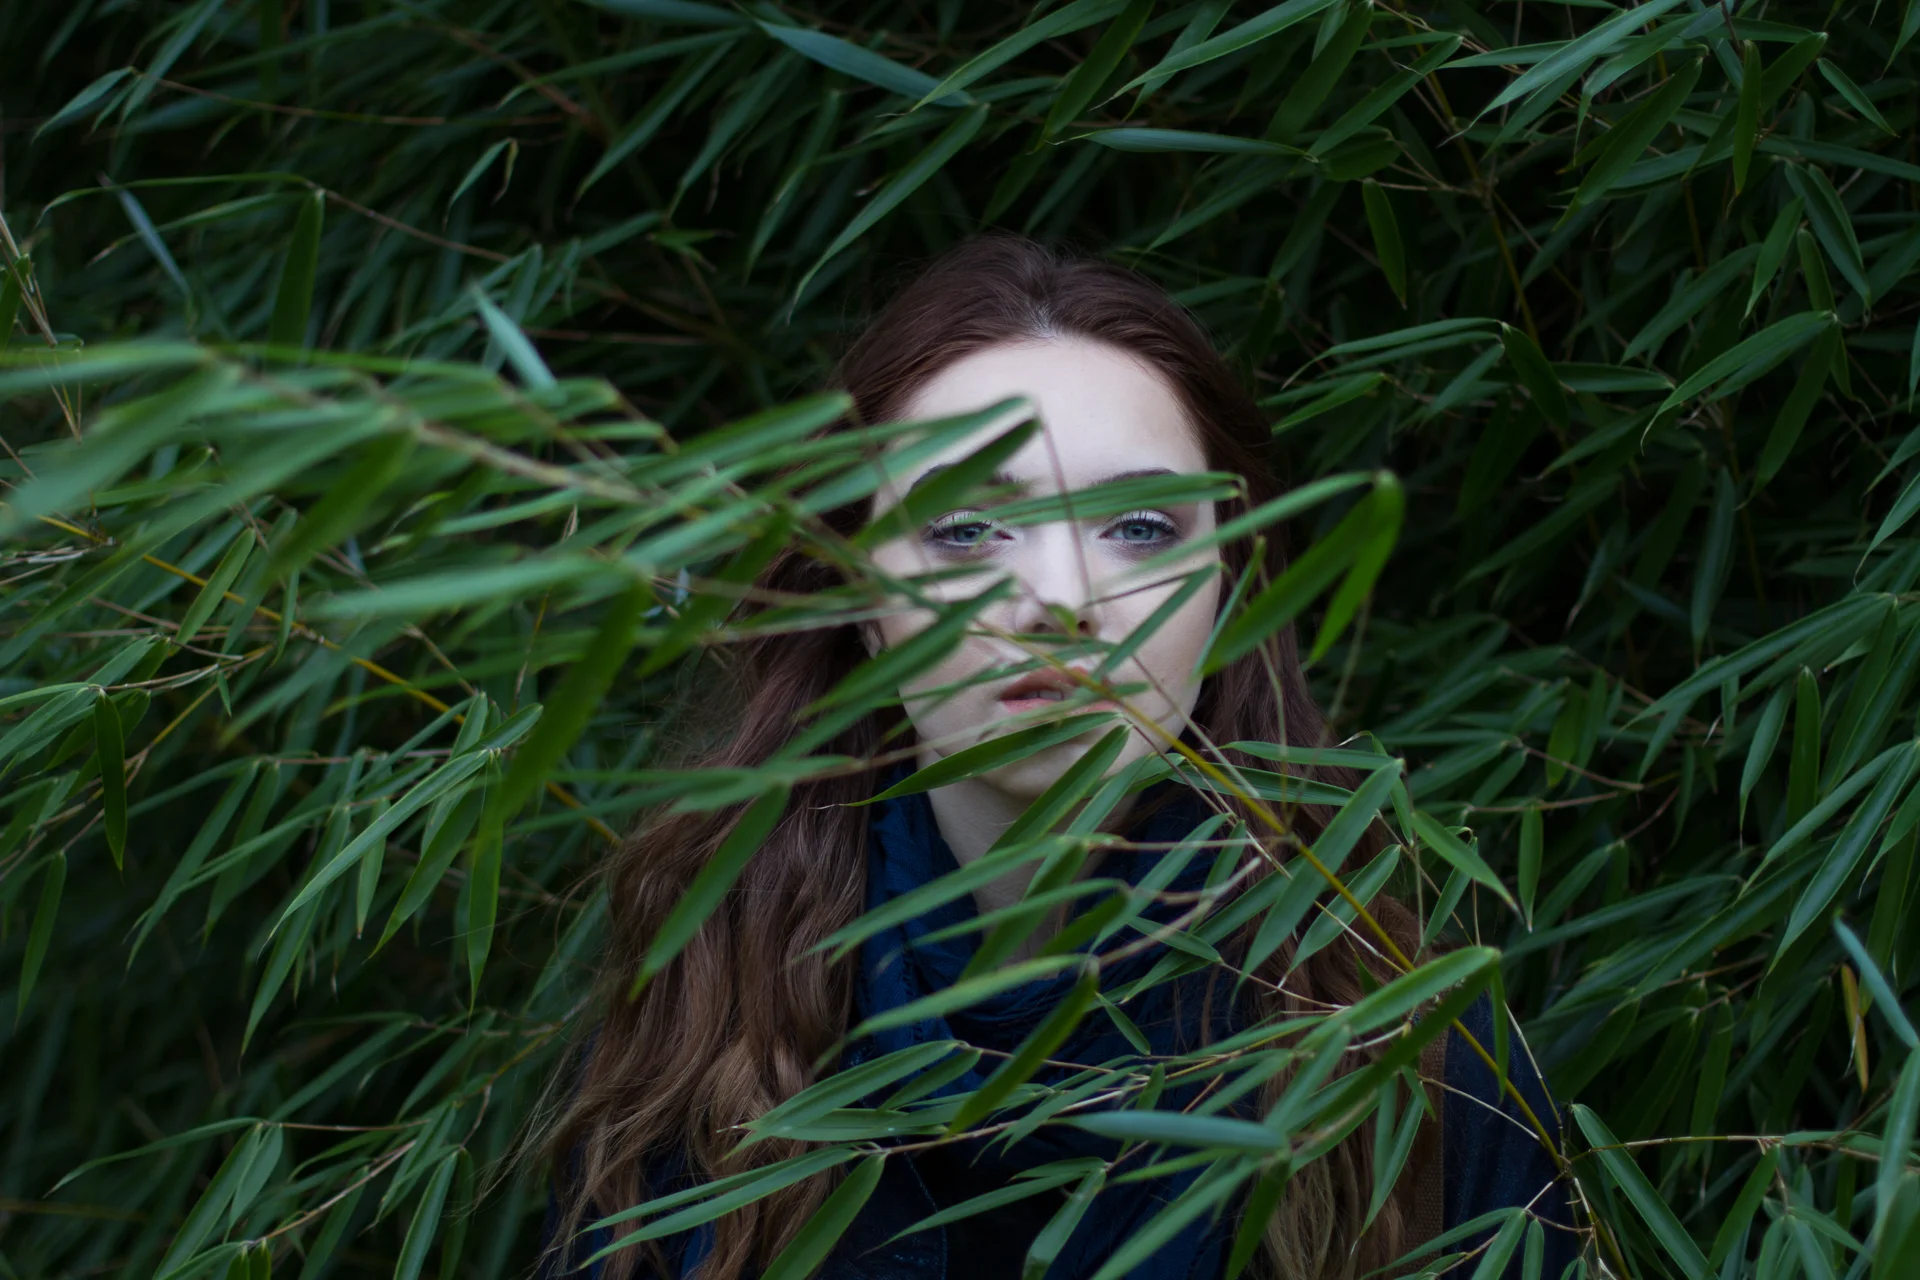
The weather on the day of the shoot was forecast to be overcast and windy, with heavy rain coming later in the day. With this in mind I arranged to meet the model, Megan, in the morning, however she overlaid (forgivable since it was New Years Day) and arrived 2 hours late! By the time we reached the Botanical Gardens where we had planned to shoot, the wind had really picked up and the dark clouds were getting increasingly darker. Despite the unpredictable weather we scouted potential backdrops in the gardens, almost immediately I spotted a bush with some lovely texture being created by the leaves as the wind blew. I placed Megan right up against the bush and pulled one of its branches round to envelop her in the texture. I set my camera to burst mode and waited for the next gust of wind to animate the leaves. I fired off a bunch of shots and this one immediately stood out - I really liked the composition of the branch blowing in front of Megan’s face with her beautiful eyes staring through the gaps in the leaves.
After
How did you edit the Image?
From the moment I captured this shot I knew the most important thing I needed to do during the edit was draw the viewer to my Megan's eyes and darken the image to enhance mood.
I started with a basic white balance and exposure correction, then applied the Portra 160+1 ++ preset from VSCO Pack 6. This got me most of the way towards the look I wanted. Next I deepened the shadows considerably to aid with creating the mood I desired, I also played with the green hue slider to adjust the colour of the leaves and increased the red luminance to separate her hair from the dark background. I wasn’t keen on the blue of her scarf in this shot, so I reduced the blue saturation slider all the way to the bottom and brought the luminance down. I then used some brushes to correct any altered skin tones, and selectively dodged and burned. The image was then moved into Photoshop to remove some stray leaves and clean up a couple of small blemishes. I also increased clarity, saturation and exposure of Megan’s eyes and brushed some contrast into her hair. The final step was to add a very subtle vignette and some grain.
What gear and settings did you use?
- Canon 7D
- 50mm f/1.4
- ISO 100
- f/1.8
- 1/400s
Thank you to Looks Like Film for choosing to feature my workflow for this image, I find this site truly inspirational and browsing through the amazing images has become a near-daily routine for me now.
Follow Liam


